The printer is reenabled, except for thesis printing.
If you need to print a thesis, you can make use of the „Fotostelle“ of the university’s library.
Releasing your print jobs
What is Print Release?
If you send a print job to your print queue, it will not be automatically print out by the student printer, but instead you have to start the print at the machine itself by authenticating with your student id card. This process is also called Print Release. This way only you can retrieve your print jobs and this prevents that you may accidentally print something while at home or similar.
Print jobs will only be billed towards your account credits if you actually print them. If you cancel a job or not release them at all they will not be deducted.
Print jobs will be held for 7 days and then automatically deleted if you do not release them. You may also delete them early by canceling the print job from the 'Jobs Pending Release' interface in Papercut.
How to release a print job?
1. Approach the student printer and swipe your student card at the left hand side of the machine where the contactless card symbol is located.
2. If this is the first time you used your card at the machine, you will be asked to associate this card to an account. To do this enter your username and password from the printer account. From then on you can just swipe your card to login. Never enter your account details for a card that is not yours, as this card will be able to access your print jobs and account balance!
3. After login you will first see the Account Confirmation screen. Here you can see your current account balance. Click on 'Access Device' to go to the main menu.
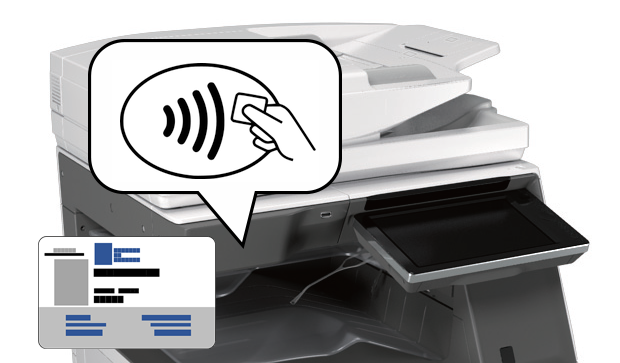
- Swipe your student card
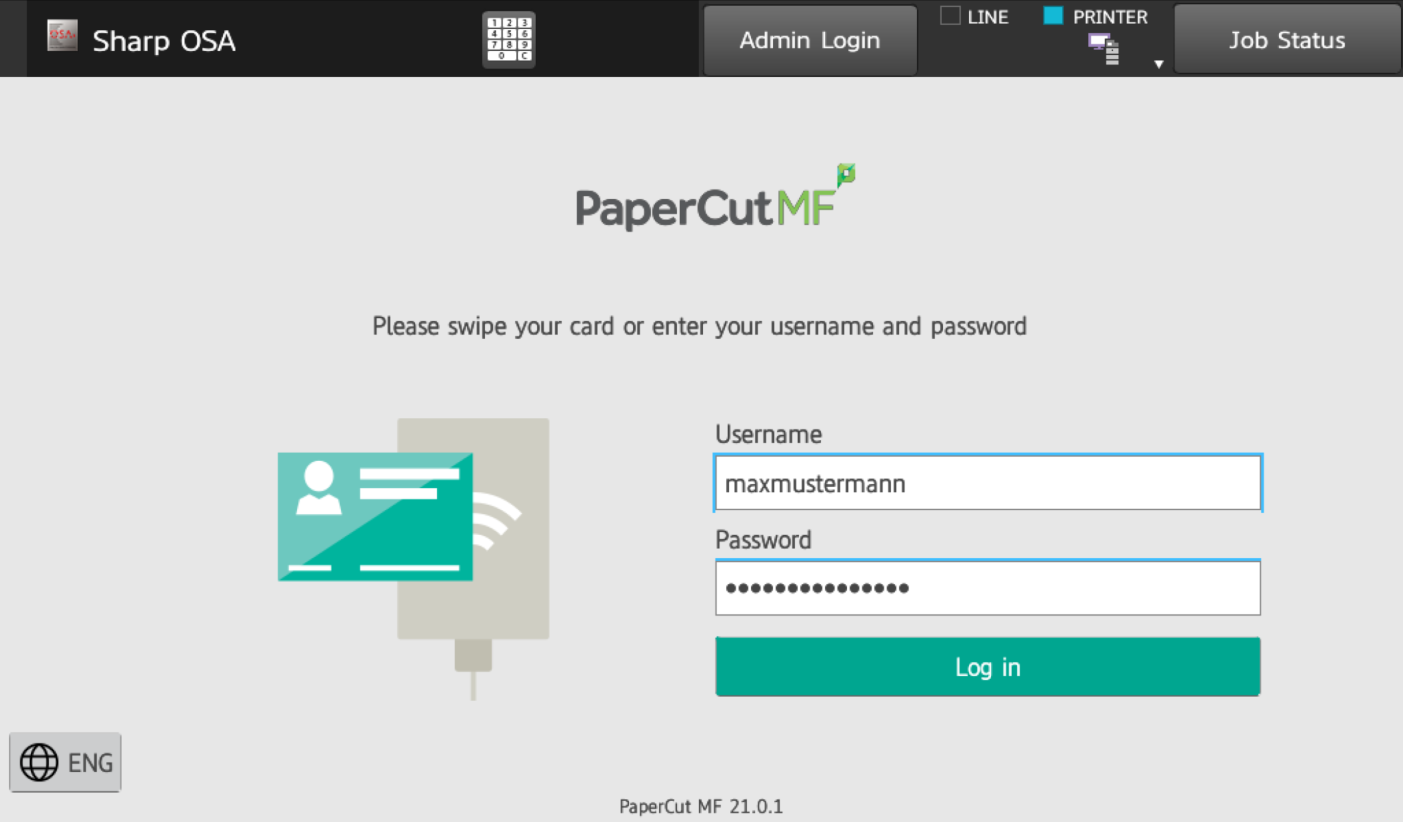
2. Associate your card with your account
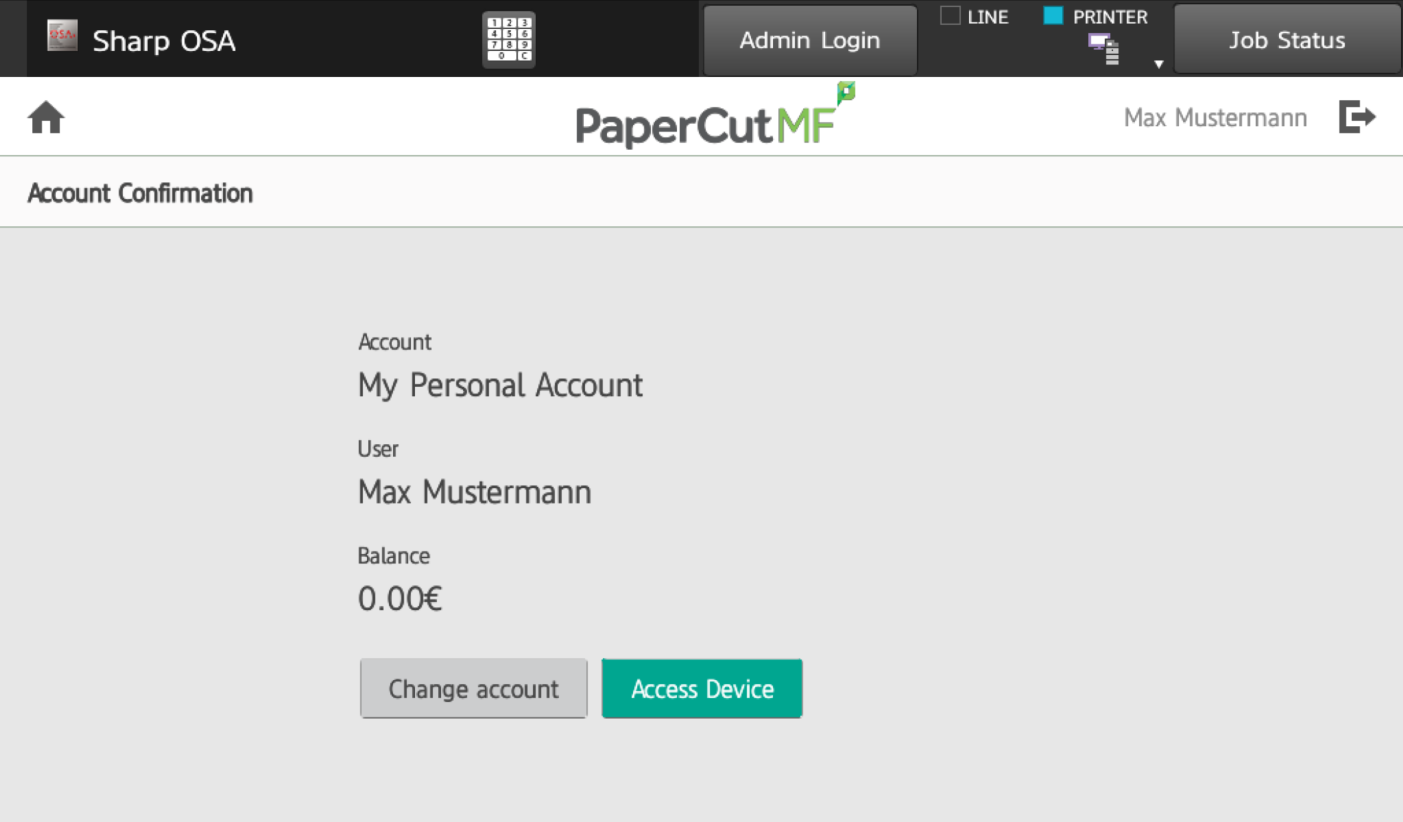
3. Click on 'Access Device'
4. Select Release Job Print Queue to view your personal print queue.
5. On this screen you will see all print jobs that you have sent to the printer (either from a computer, from a phone, or via web print). Select multiple print jobs and then tap on 'Print' to release them or tap the bin to delete them from your print queue. You may also select the '>' next to a print job to modify certain job properties before print. Read more about that in the next section below.
6. Your printouts may take some seconds to start. Please collect them as soon as finished. You can log out from the machine by taping the logout button at the top right or top of the screen next to your name.
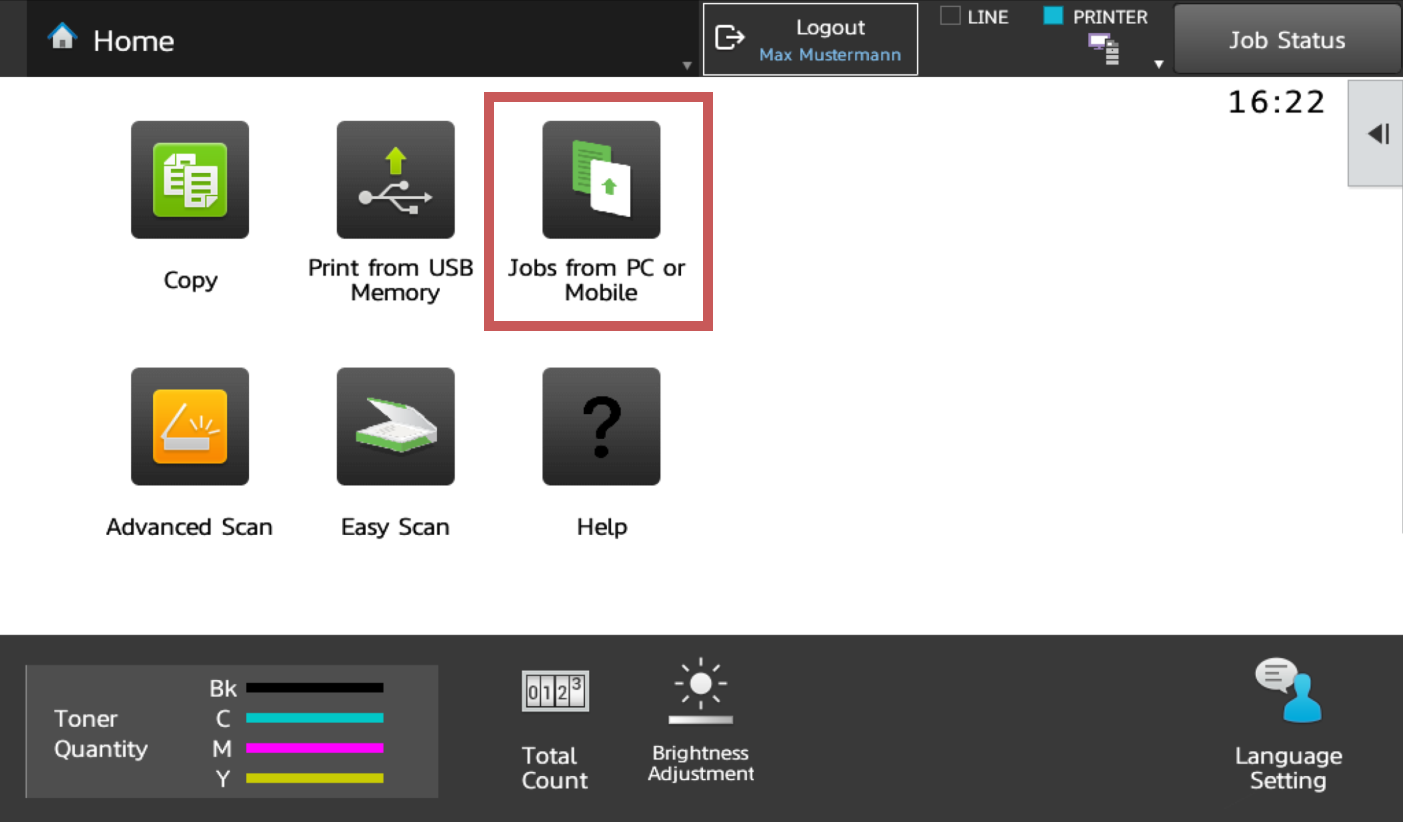
4. Select 'Release Job Print Queue'
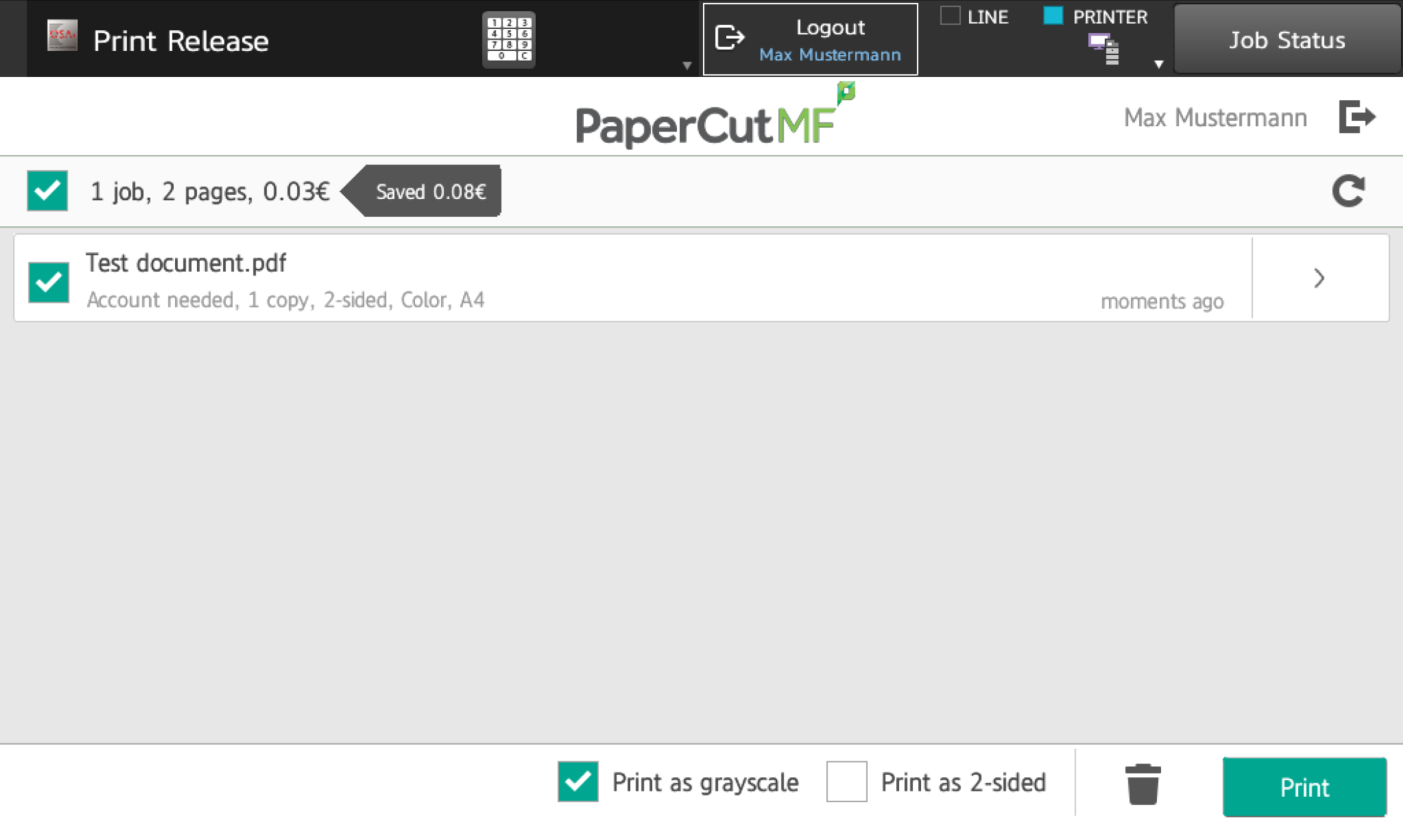
5. Select documents and tap 'Print'
6. Logout
Last minute changes
Before releasing one or multiple print jobs you may change some of the properties of a print job. On the Print Release page you can change multiple print jobs by ticking the boxes at the bottom of the page or you may adjust an individual print job by tapping the '>' on the right. Depending on the individual circumstances the following options or changes may (or may not) be available:
- color → grayscale
- one-sided → duplex
- increase the number of copies
- select the billing account (only available during thesis printing)
Changing these setting may influence the print job cost. This will be visible before printing.
Please note that you cannot convert a grayscale print to color and a duplex print to simplex using this method. You will need to delete the print job and re-send it from your PC again with the right settings.
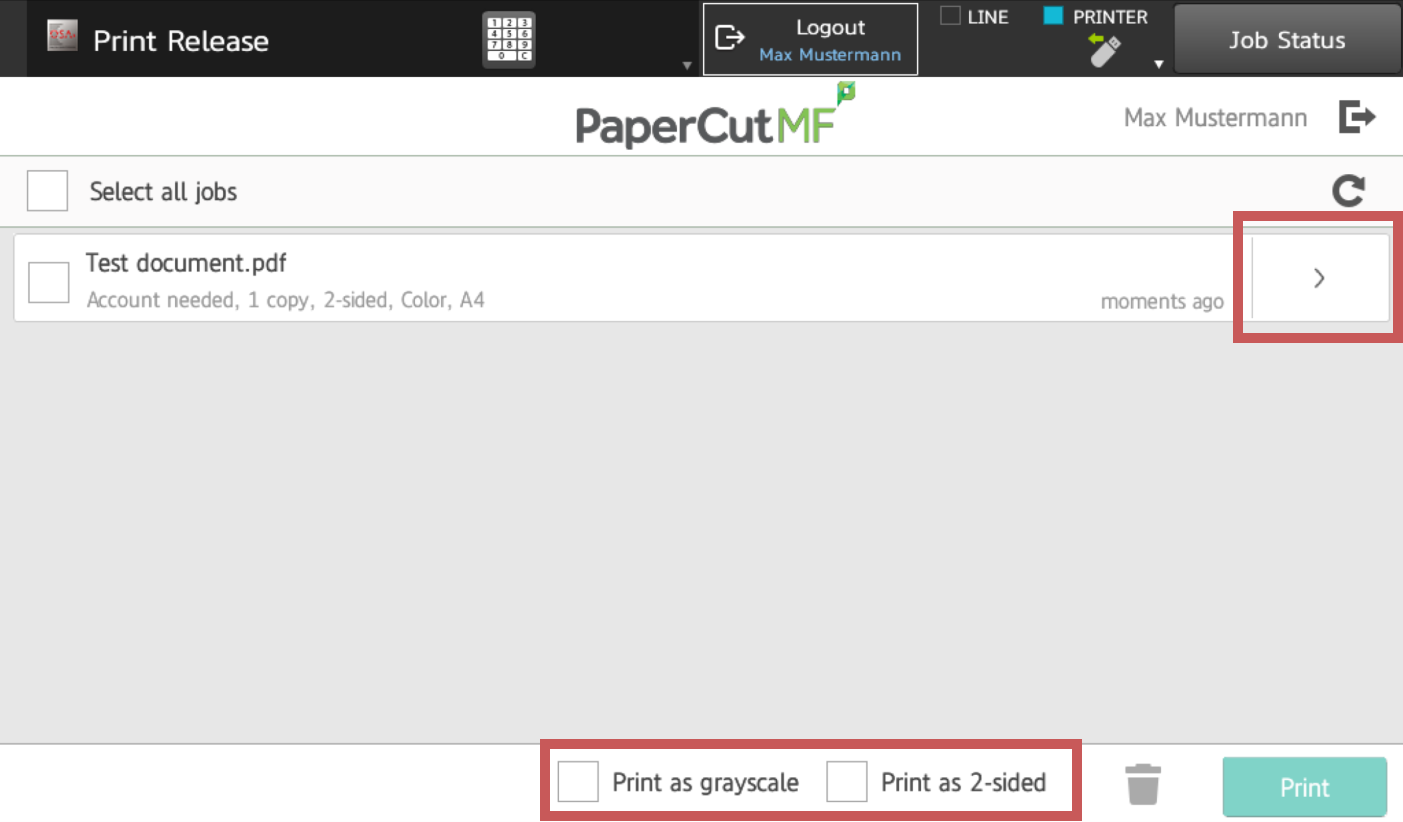
List of Print Jobs
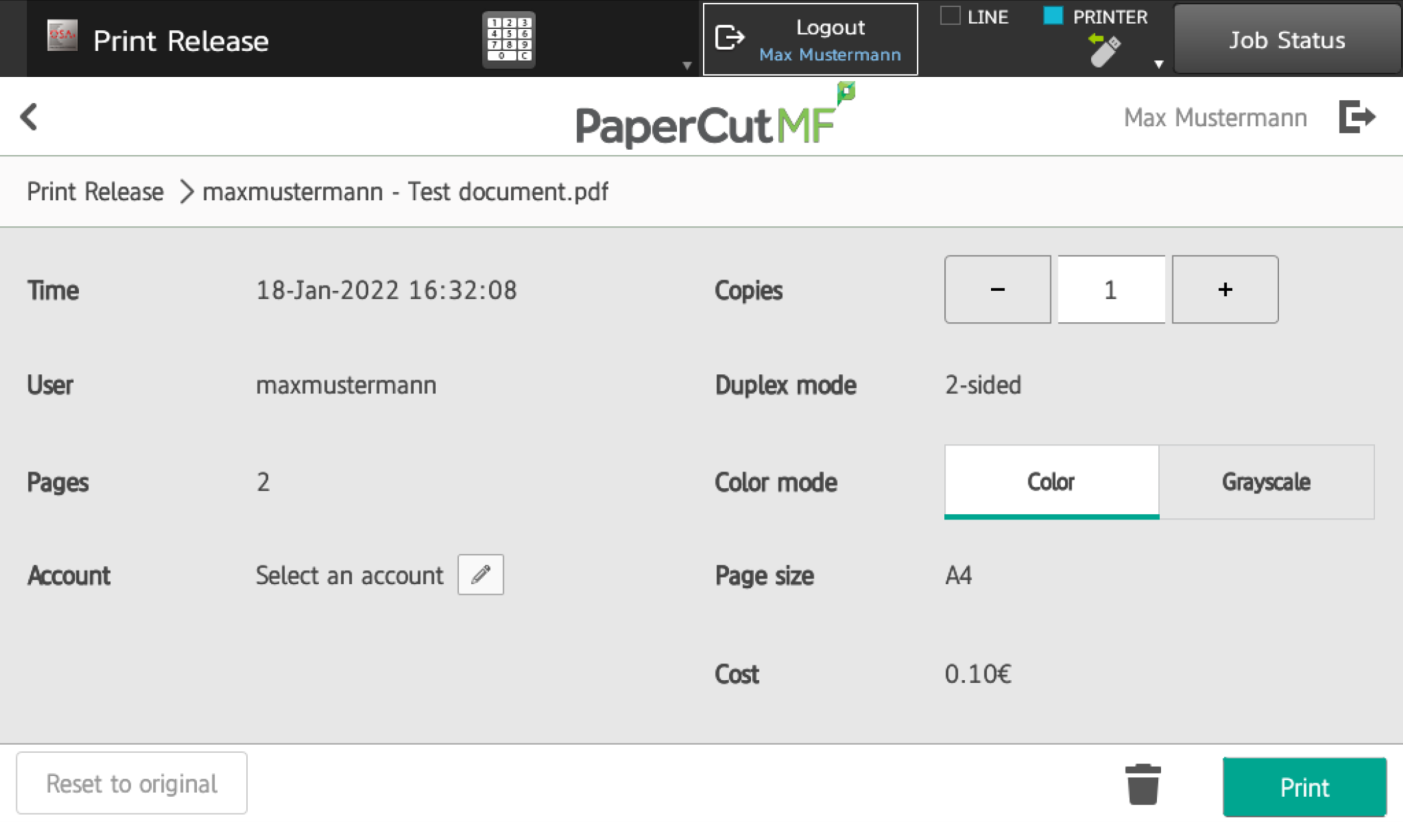
Individuals Print Job Properties