The printer is reenabled, except for thesis printing.
If you need to print a thesis, you can make use of the „Fotostelle“ of the university’s library.
Using mobile print, you will only be able to create print jobs, if you are connected to the university network (i.e.eduroam orVPN). It does not work when you are only connected to the cellular network or the "guest" wlan.
Android
This site describes how to set up and use the Student Printer on Android. On Android we use the app Mobility Print provided by Papercut. The app is officially only available in the Google Play Store. If you have no access to the Play Store, you may use Web Print instead.
Install Student Printer
Follow the four steps below carefully to install the student printer on Android:
1 Install the app Mobility Print from PaperCut.
2 Add the Student Printer to Mobility Print by clicking on the link below and opening it with the Mobility Print app from PaperCut. In some browsers you might need to press long on the link and select Open link in external app or similar from the context menu. You should end up in the Mobility Print app. If you end up in the Play Store please make sure that you have Mobility Print installed and try again.
You will not get a confirmation that the printer was successfully added. The printer will be added silently and is available henceforth.
3 Mobility Print will show you, if additional steps are needed. The Mobility Print service need to be enabled in the Android Printing settings and notifications need to be turned on to show you the authentication dialog.
4 To check if the printer was successfully added, you can do the following steps:
- Open the Mobility Print app.
- In the upper right corner, click on the Settings cog-icon.
- Enable the error reporting toggle.
- Check if the Knownhost Value is set to
print.cs.fs.uni-saarland.de. If not, execute setup step 2 again.
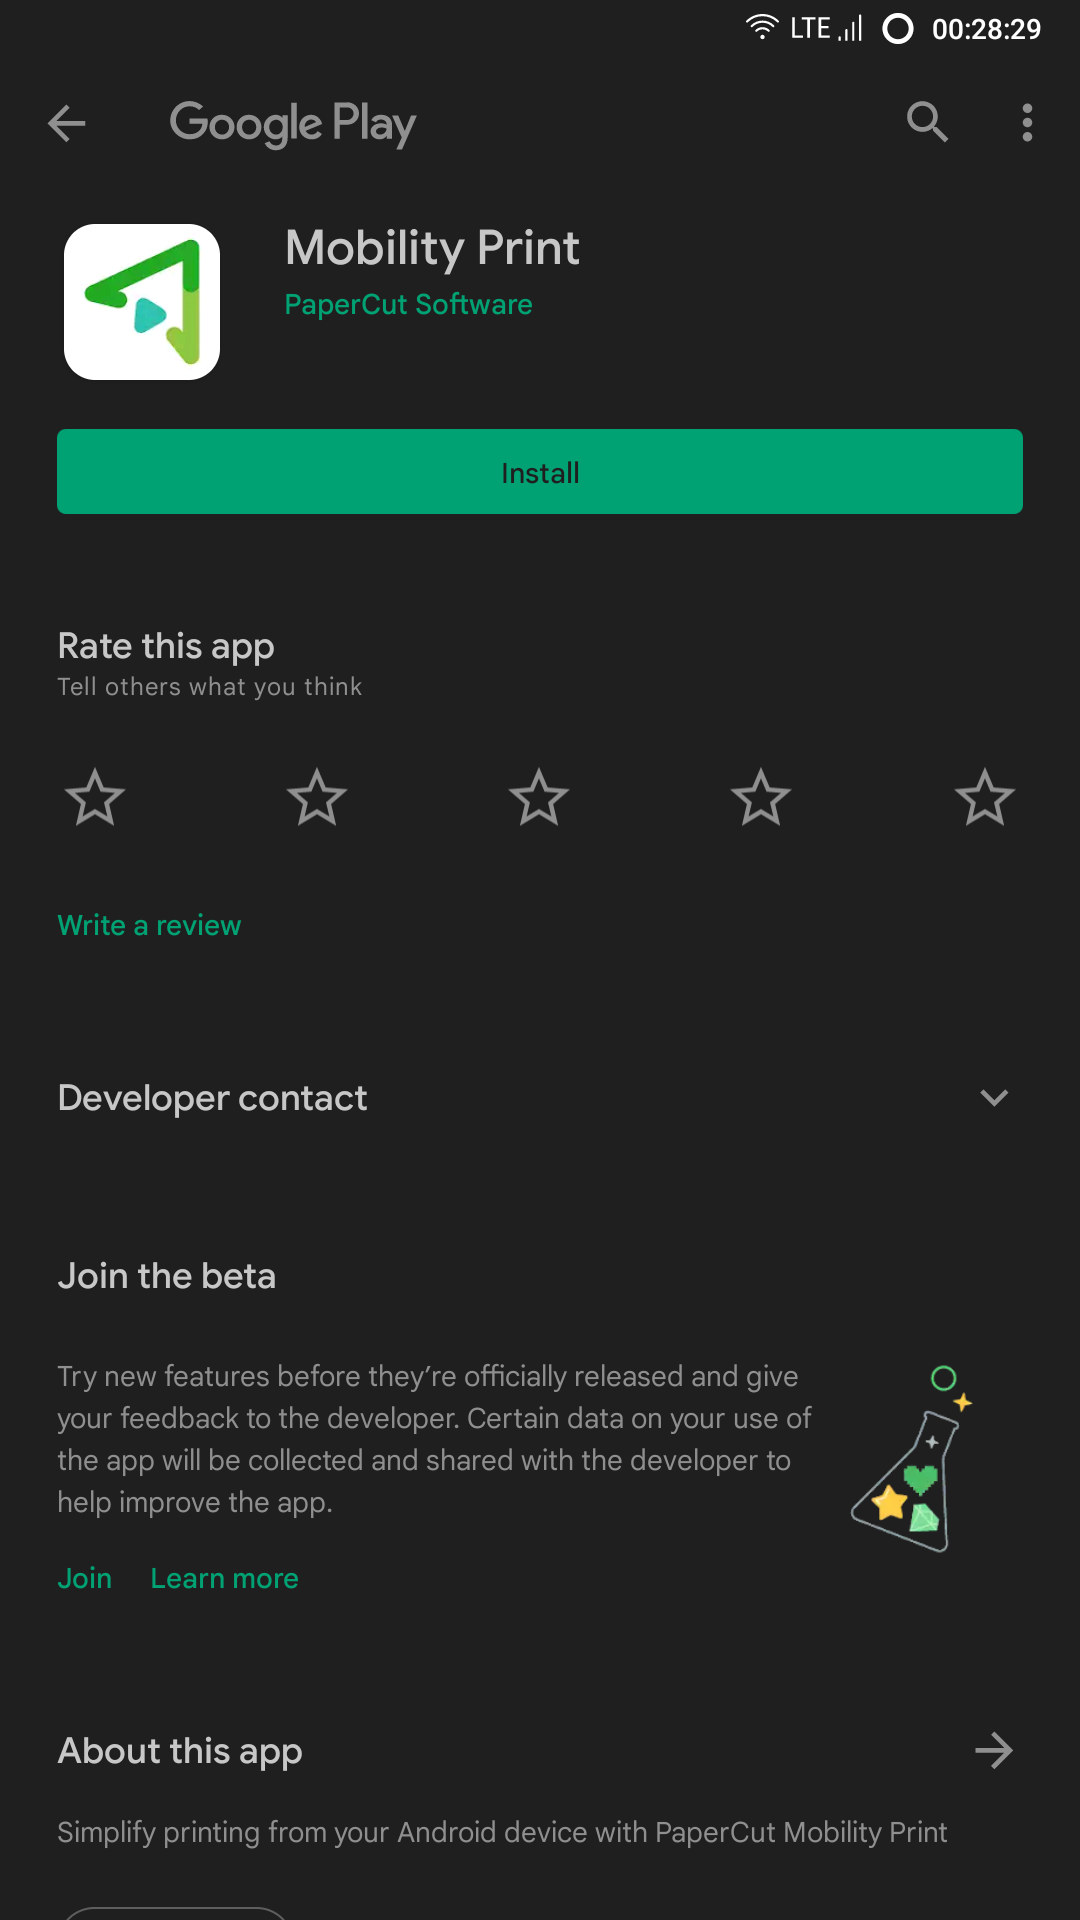
1 Mobility Print in Google Play Store
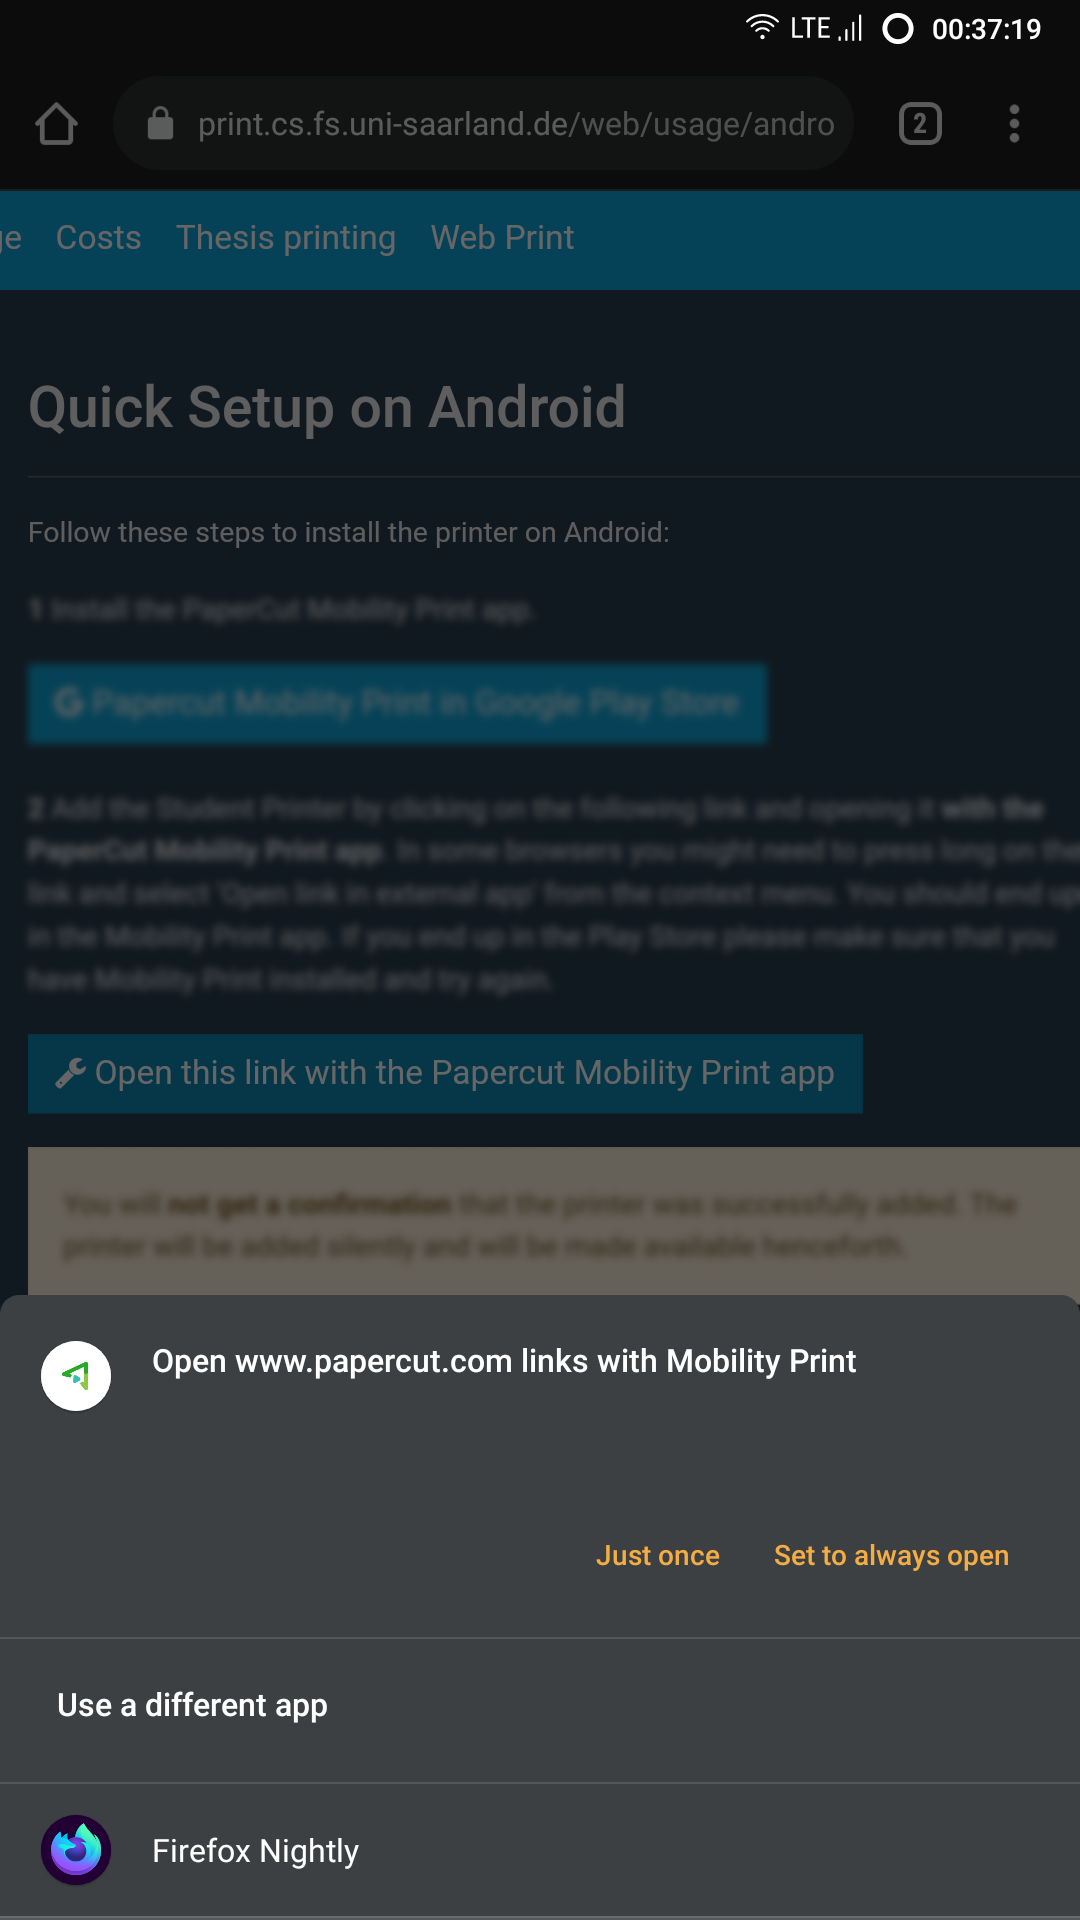
2 Open the settings link with Mobility Print
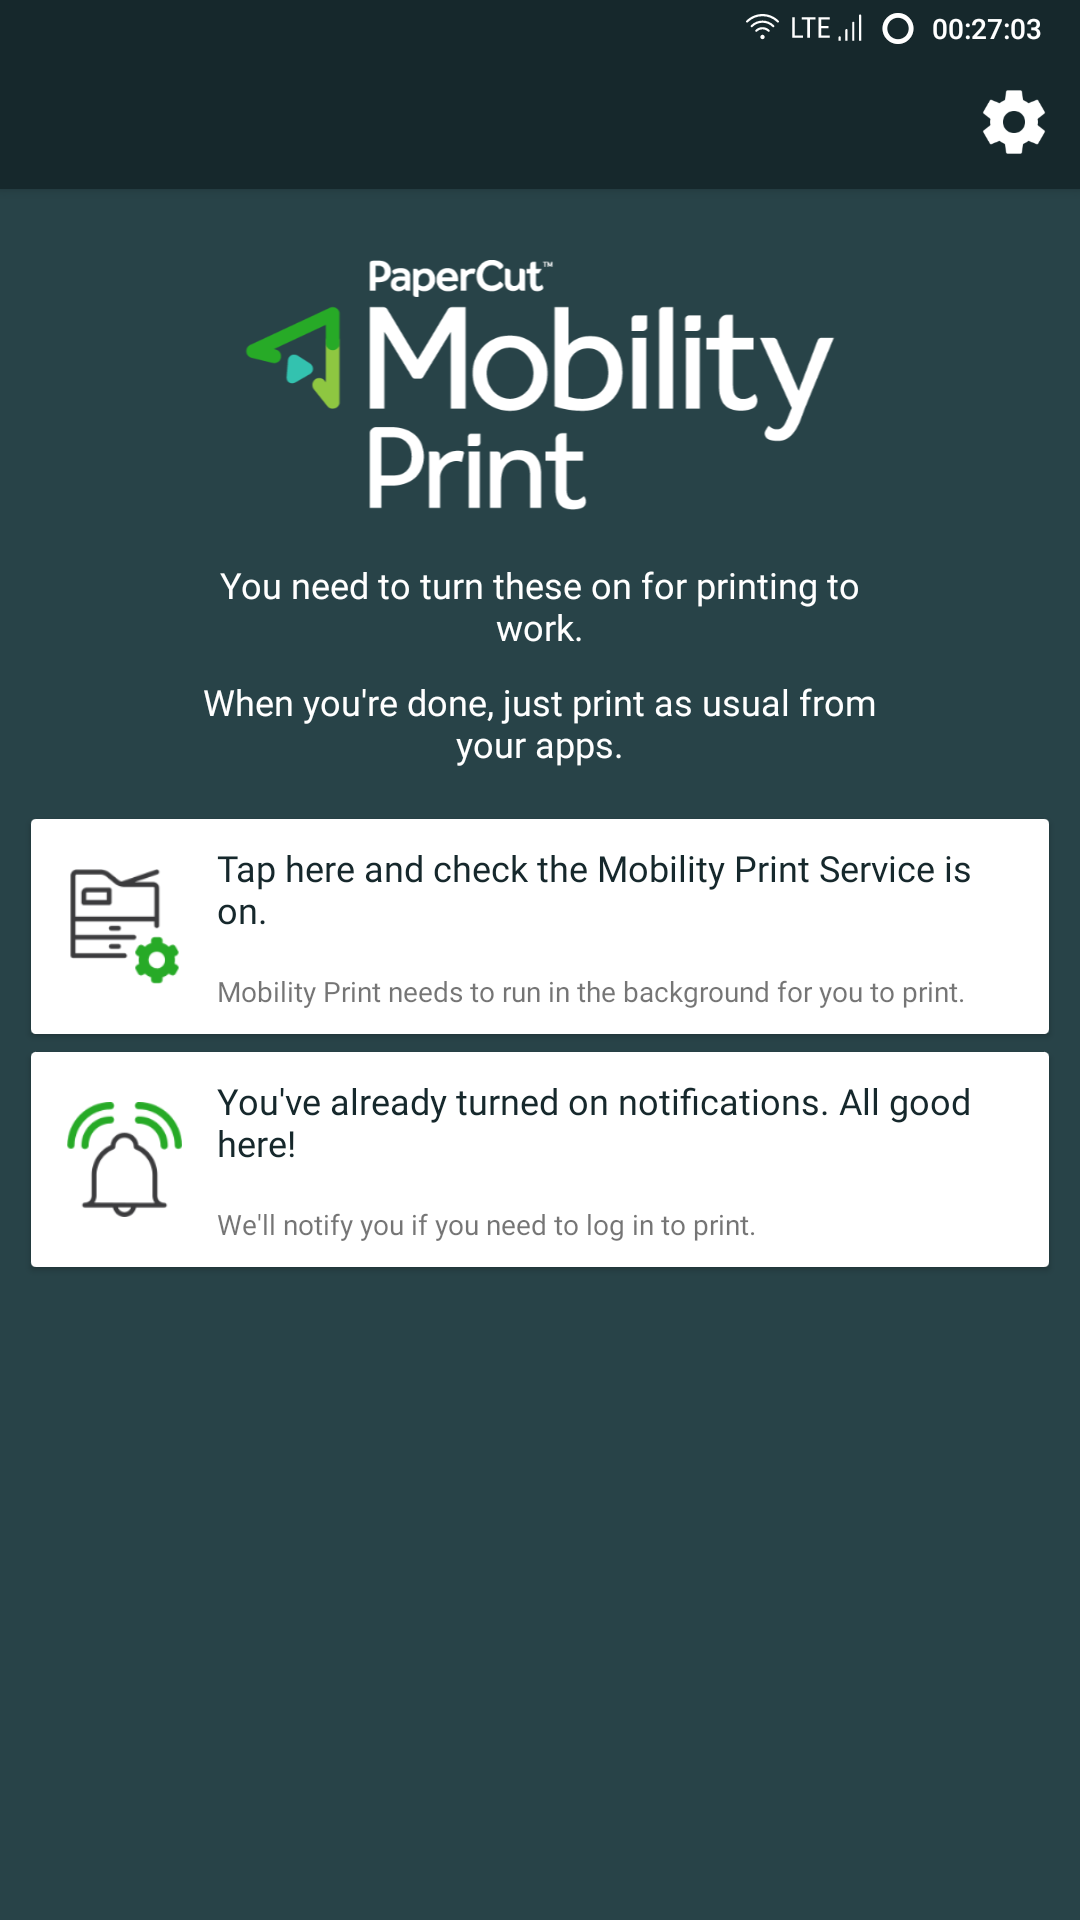
3 Mobility Print app
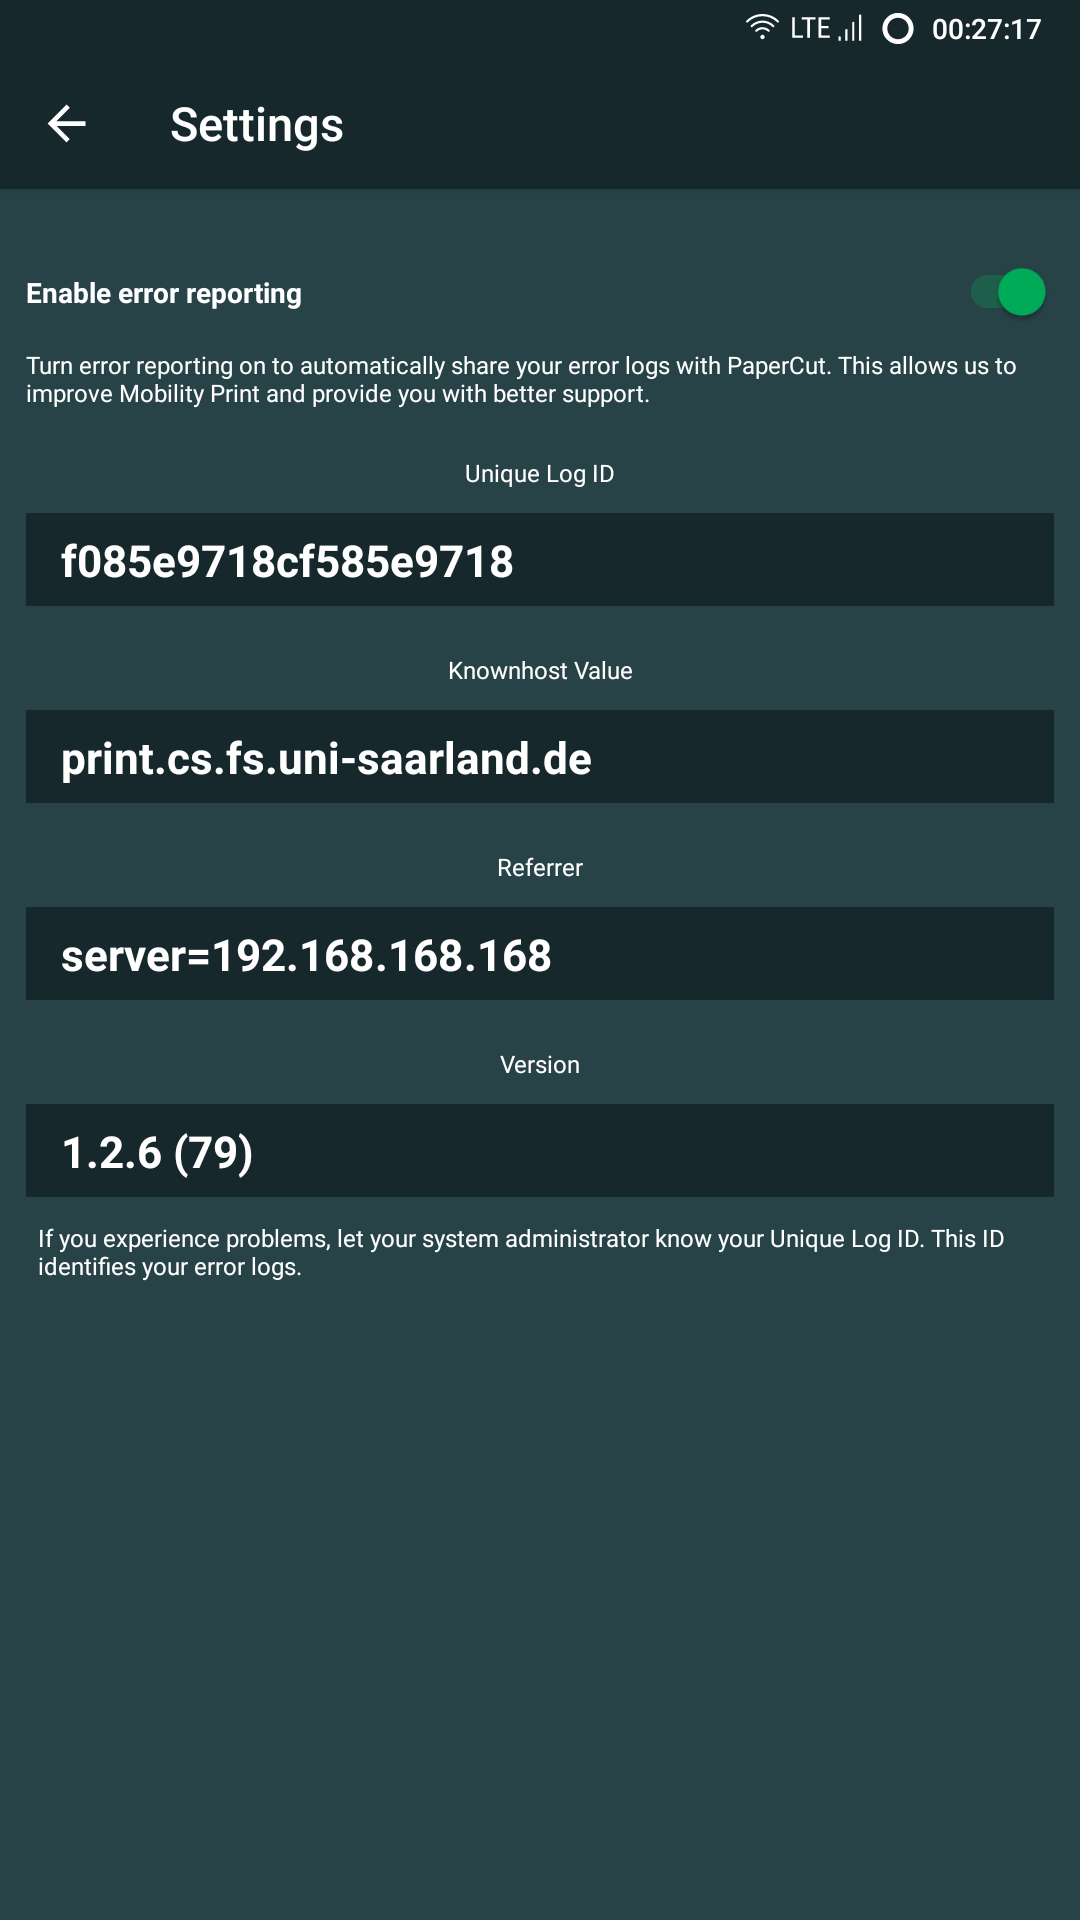
4 Knownshost Value in Settings
Create Print Jobs
After you have followed the steps above to install the printer, you can then print from any app that supports printing on Android (e.g. most PDF viewers, photos app, Google Docs, and Microsoft Office) like with any other printer, but with the difference that you need to authenticate with your printer account before the print job is send.
The following dialogs might look slightly different between Android versions, themes and manufacturers. The screenshots have been made with Android 11 and Google Drive PDF Viewer.
1 In the printer dialog select one of the two printers that have been added (student_printer_normal_paper prints on eco-friendly 80g/m² paper and student_printer_heavy_paper clear white 120g/m²). If you have many printers installed, you may need to select All printers.... The printers will not show up or be greyed out, if you are not connected to the university network (i.e. via eduroam or VPN).
2 Adjust the printing options, like color, double-sided printing, and the print range, to your liking and click on the print button.
3 After creating the print job, a notification from Mobility Print will appear, that you need to open. If this notification does not appear, open Mobility Print and check the notification settings.
4 Enter your username (in the form name0001 or s8name) and password that you used during registration for the student printer. Click on Sign in and Print to add the print job to your print queue. Another notification will tell if this succeeded or failed.
Your print job is now in the print queue. Go to the student printer to release it for print. Read more about that here.
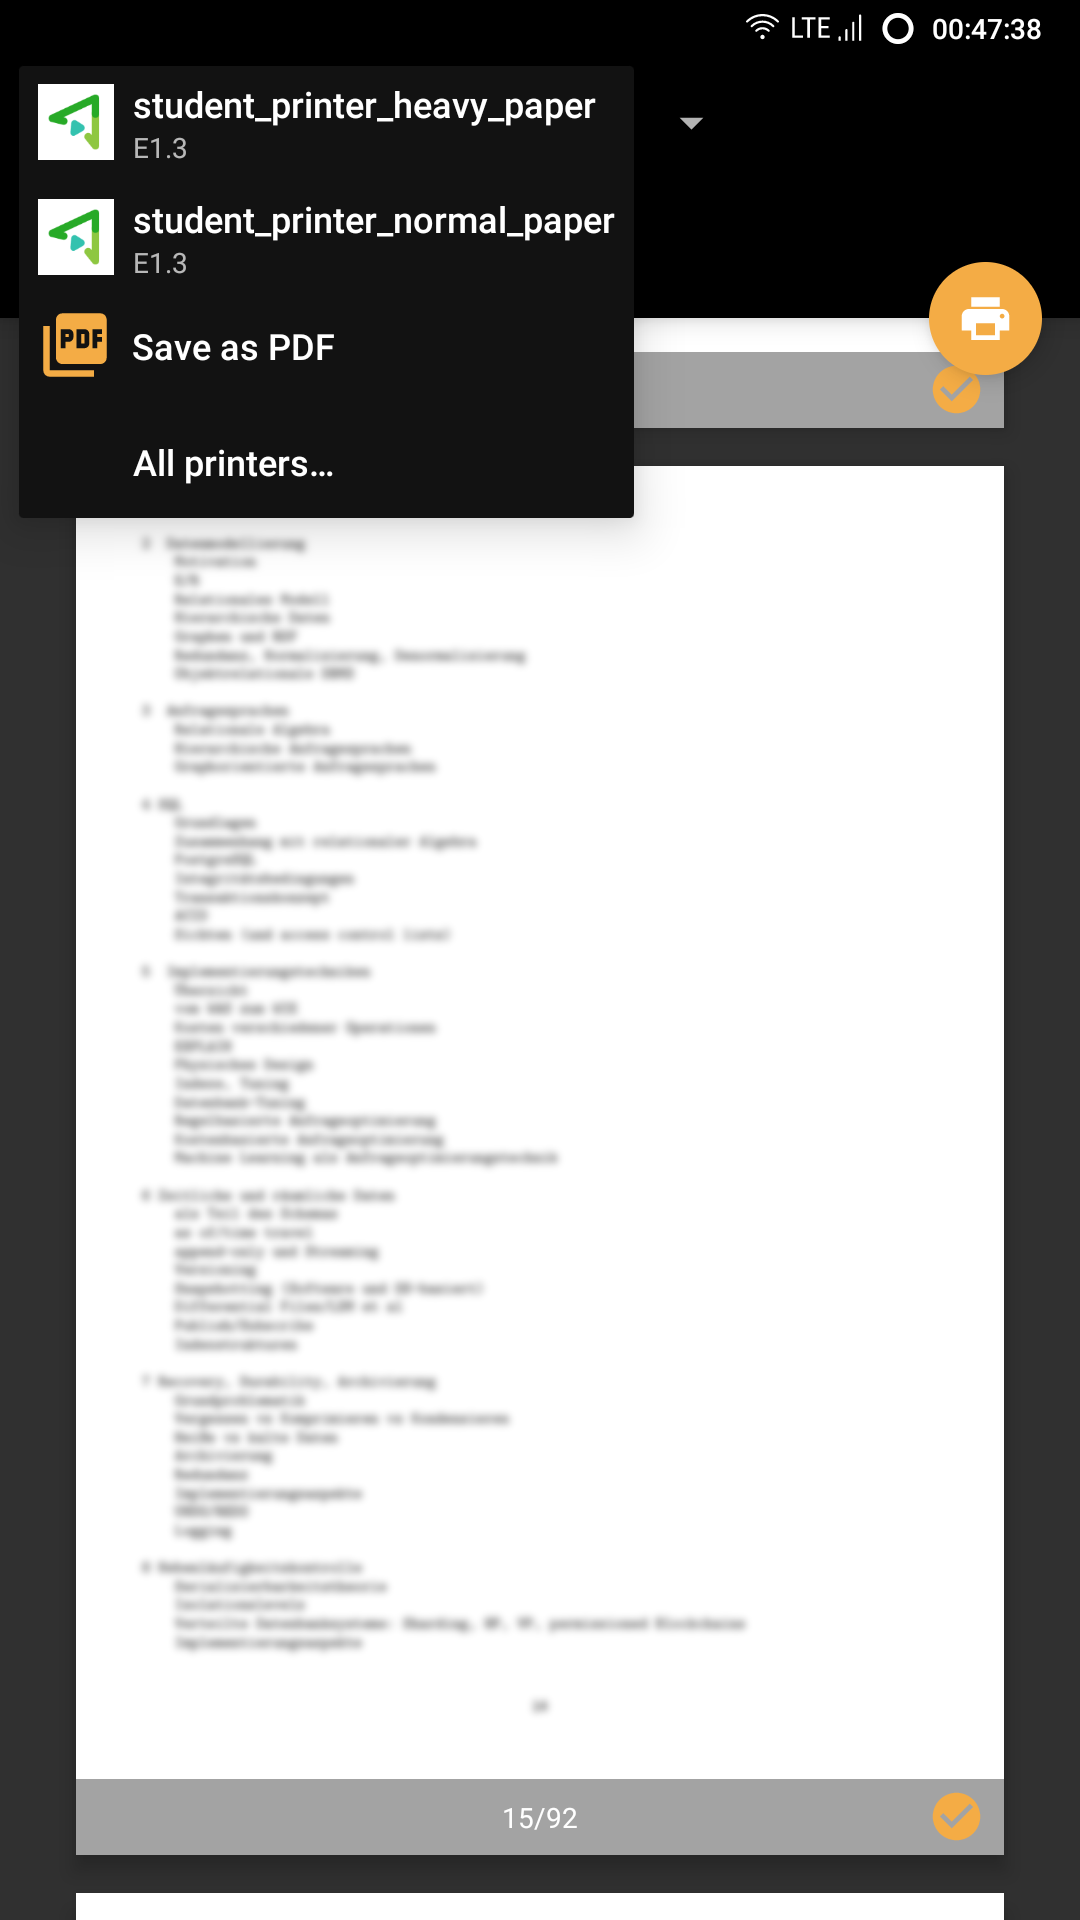
1 Select student printer
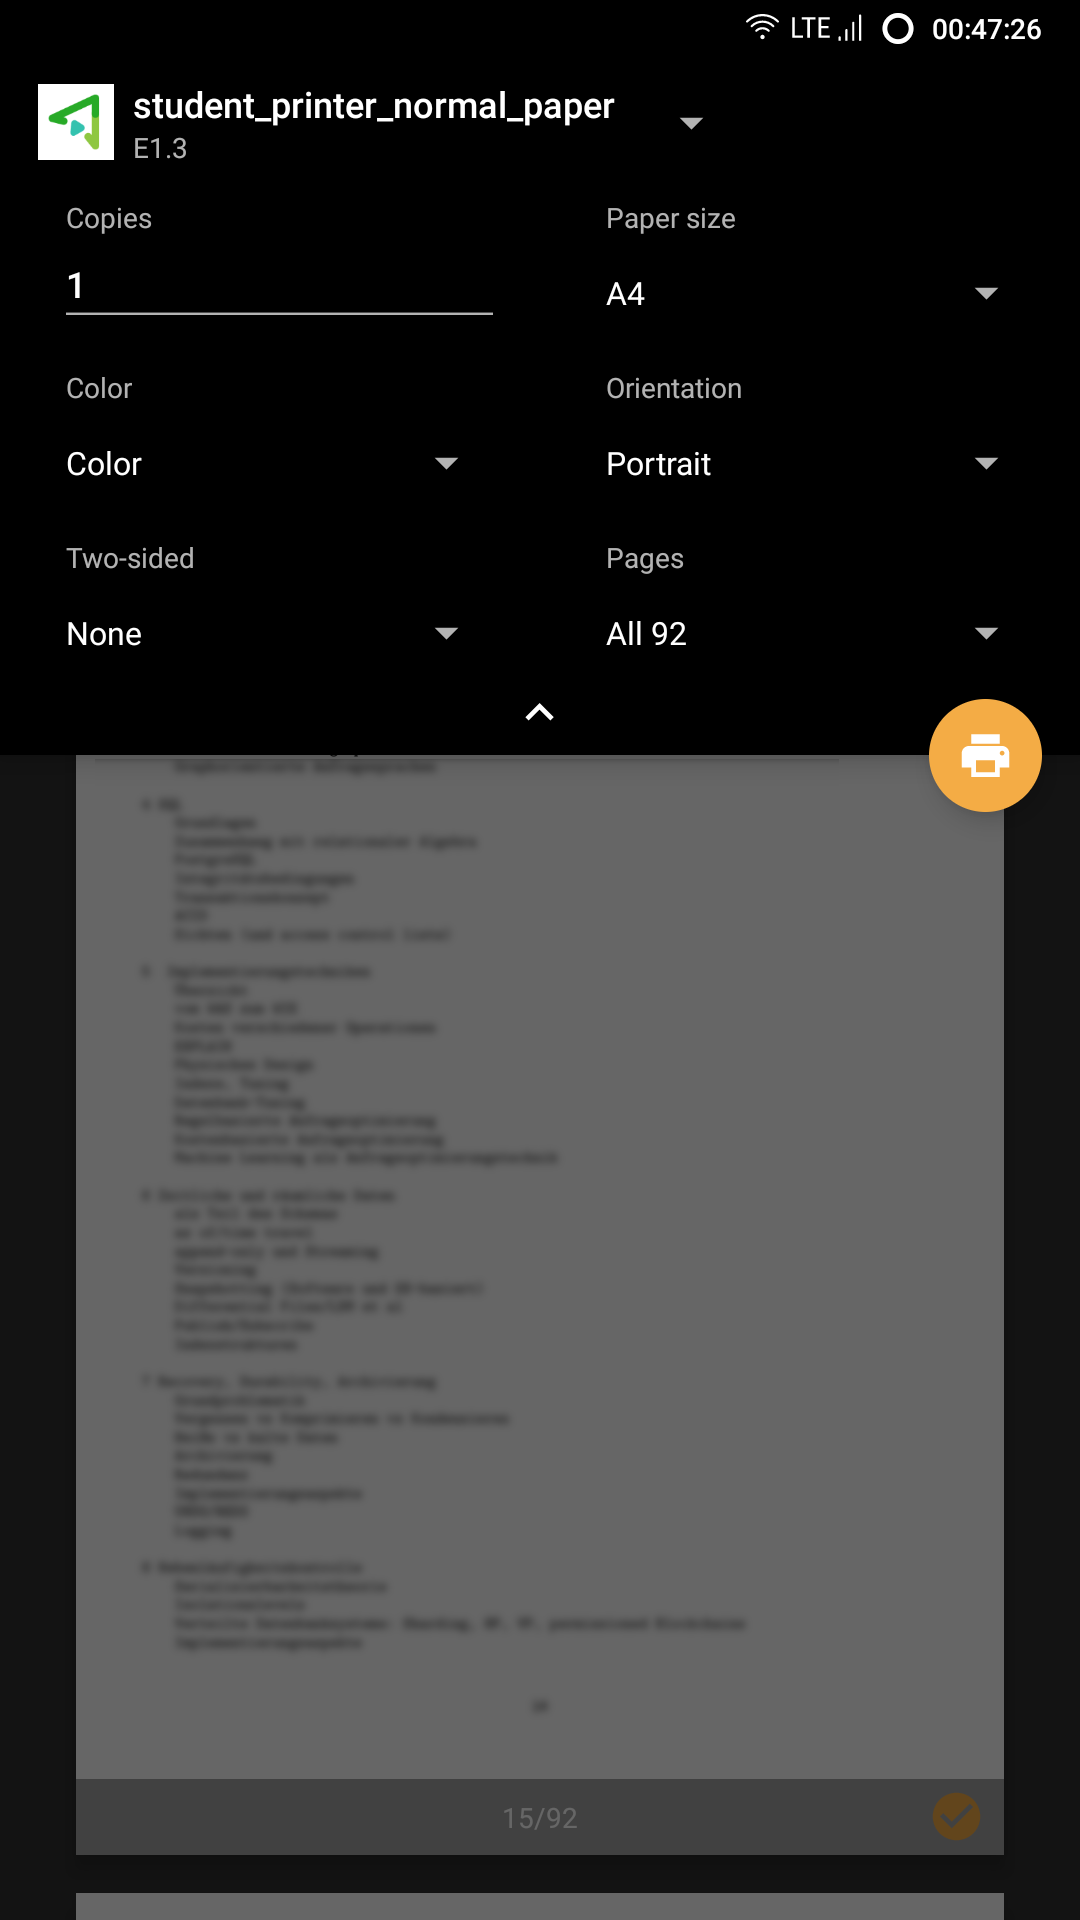
2 Printing settings
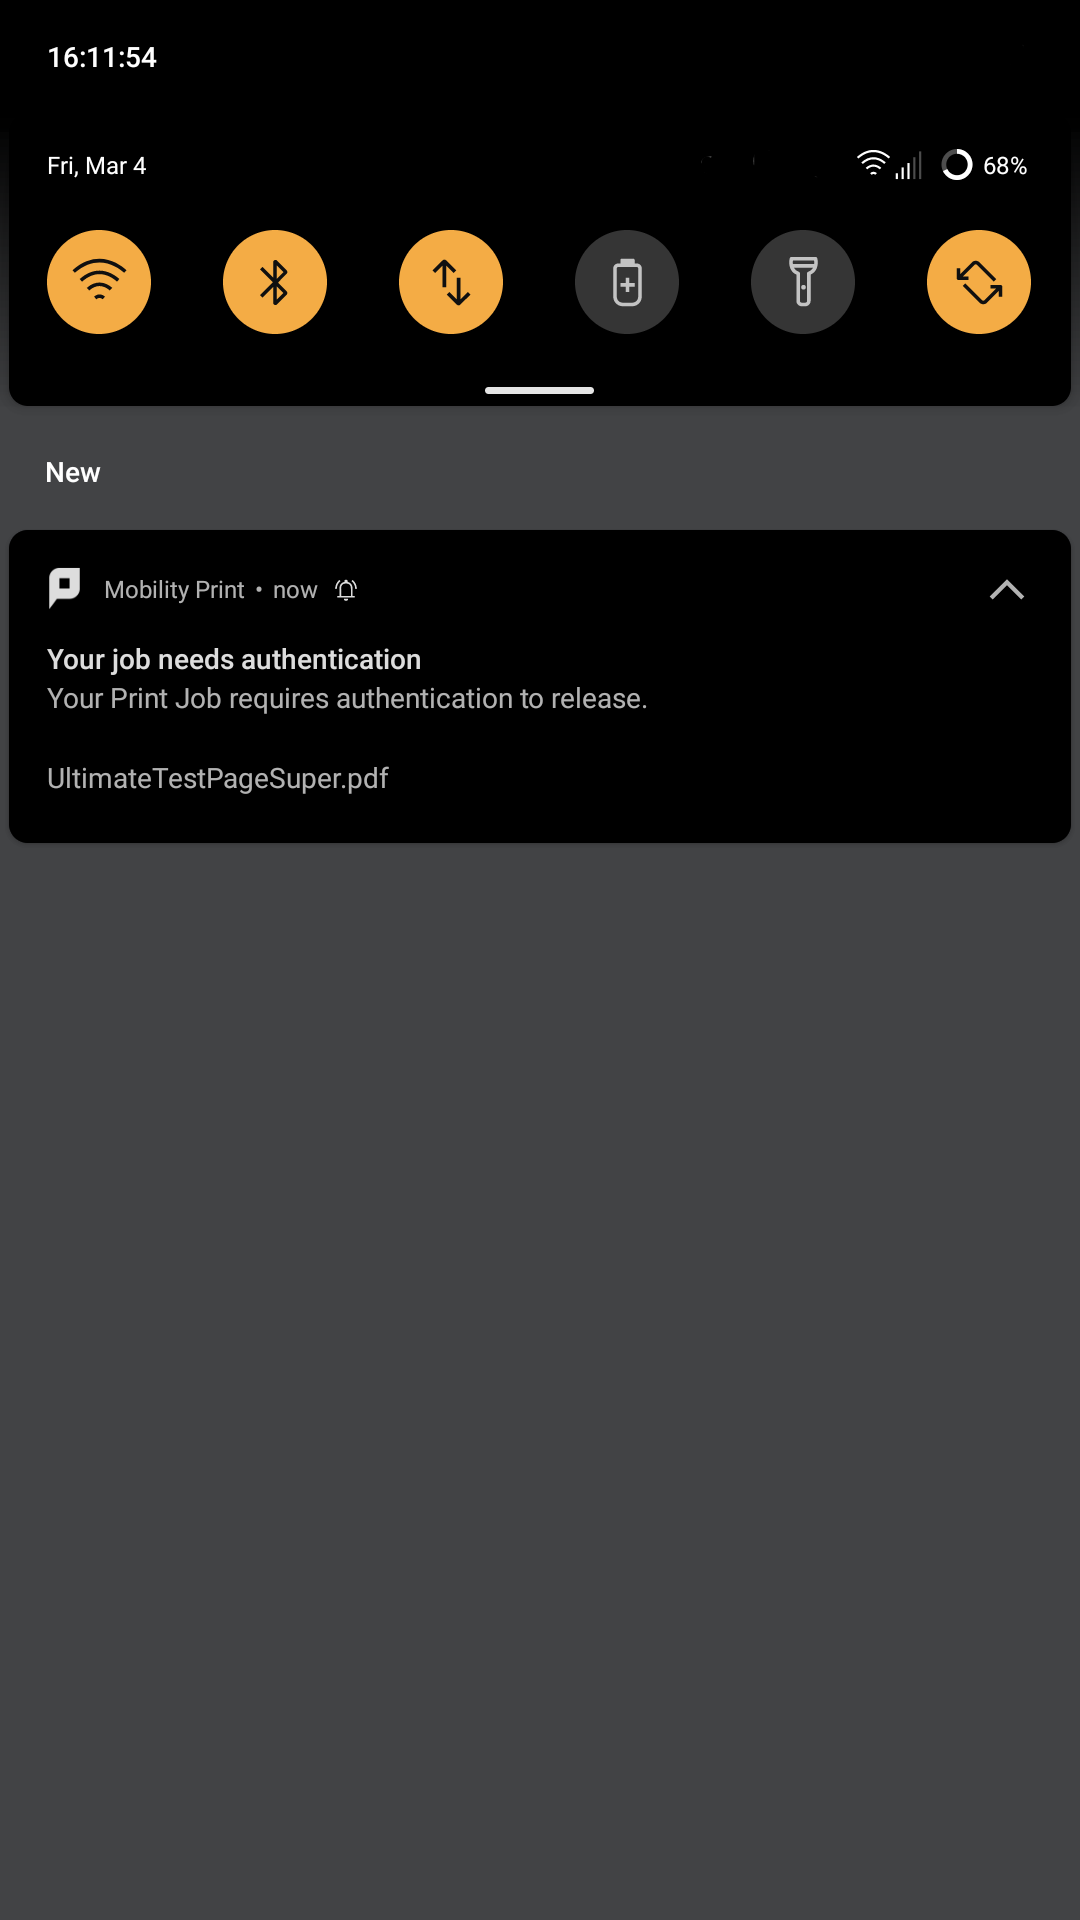
3 Notification from Mobility Print
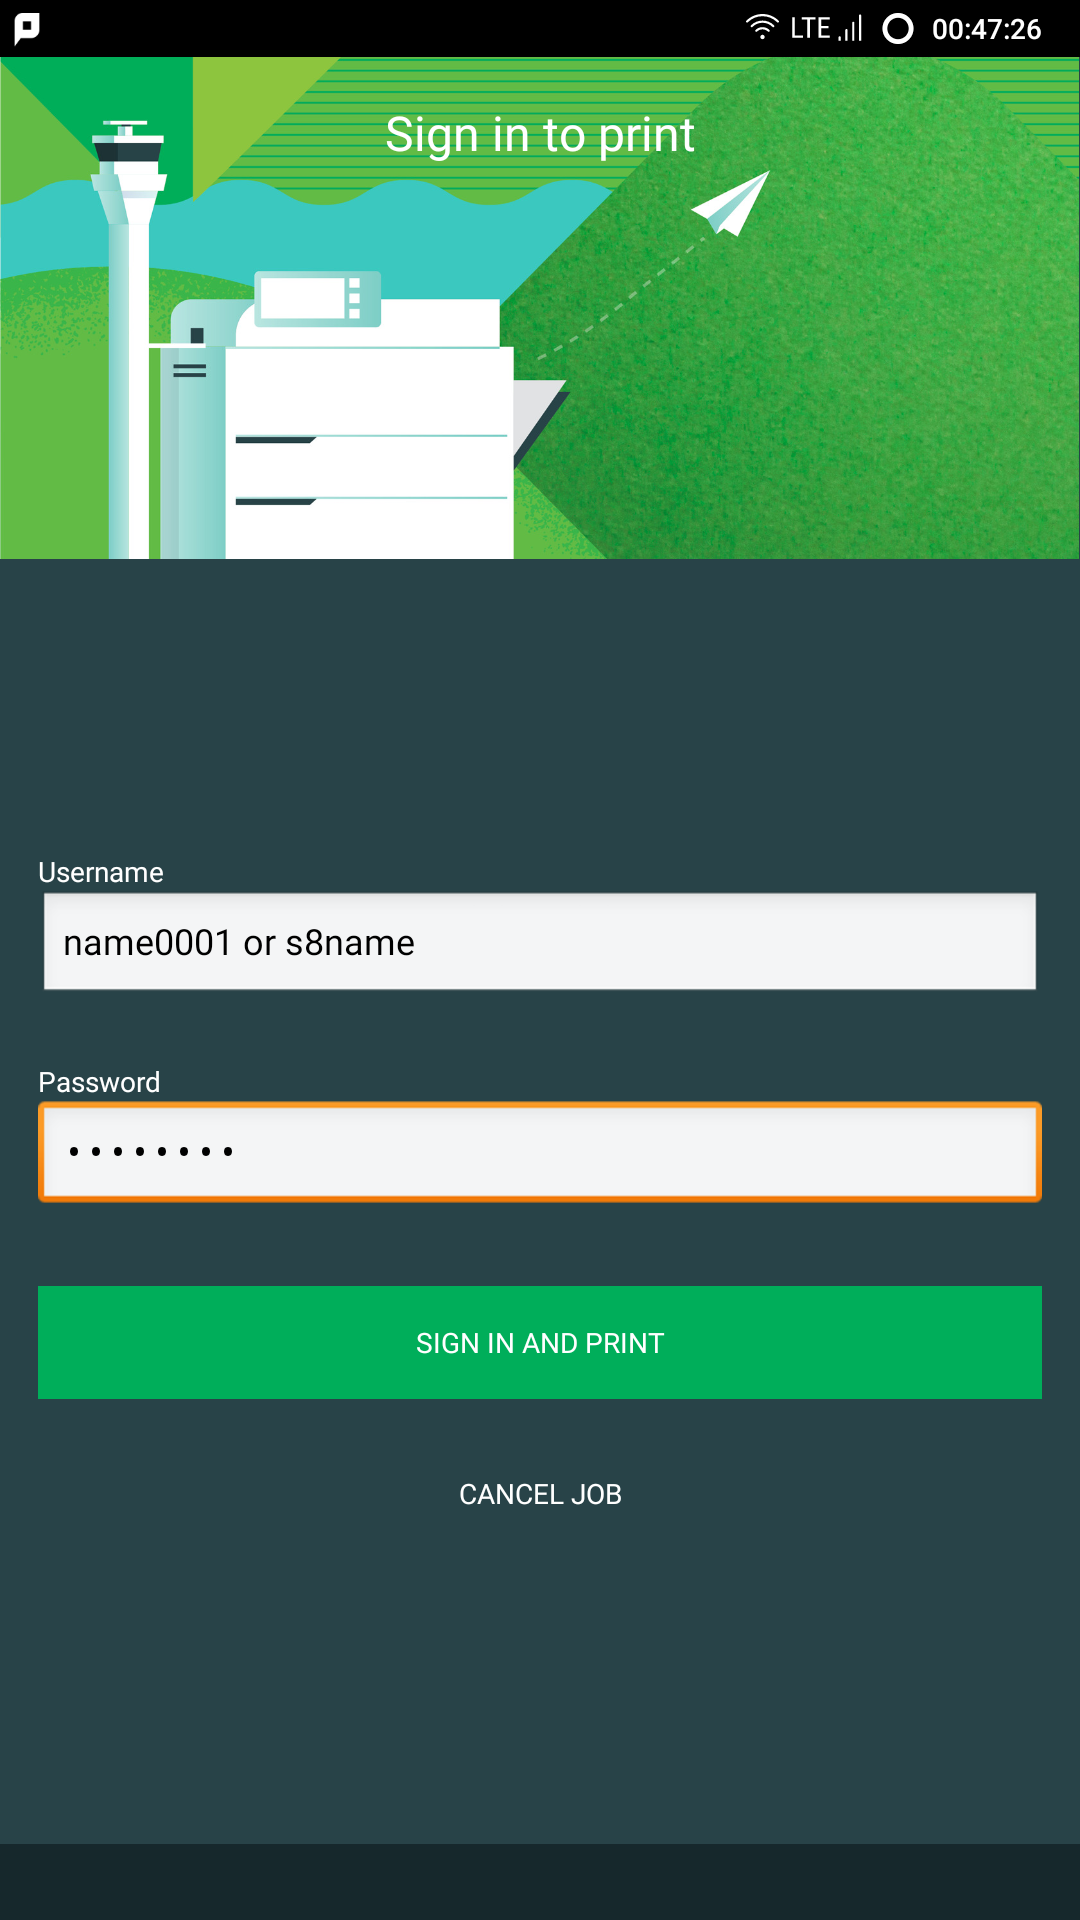
4 Enter username and password
Remove Student Printer
If you want to entirely remove the student printer from your device, you just need to uninstall the Mobilty Print app.
On most Android systems to remove an app, just long press onto the app in the app drawer and select App info in the appearing context menu. In the App info screen click on Uninstall.
If that is not possible, you should be able to go to your devices Settings and uninstall the app from the list of installed apps.
You may also open the app page in the Play Store and click on Uninstall there.
Caveats and Known Limitations
- Printing on A3 sized paper is currently not possible on Android. Please use one of the other options, if you need to print on A3.
- You can only print if you are connected to the university network (i.e.eduroam orVPN). If not, the printers will be grayed out.