The printer is reenabled, except for thesis printing.
If you need to print a thesis, you can make use of the „Fotostelle“ of the university’s library.
Using mobile print, you will only be able to create print jobs, if you are connected to the university network (i.e.eduroam orVPN). It does not work when you are only connected to the cellular network.
Using mobile print, printing on A3 sized paper is currently not possible. Please use one of the other options, if you need to print on A3.
iPhone & iPad
This site describes how to set up and use the Student Printer on devices using Apple iOS, i.e. iPhones and iPads. On iOS we use an configuration profile to add the student printer to the list of available printers. If your device is unable to use configuration profiles (e.g. it may be blocked by your employer) or you are unwilling to use one, you may use Web Print instead.
Install Student Printer
Follow the steps below carefully to install the student printer on iOS:
1 On your iOS device click on the following button to download the configuration profile. You will be asked if you want to allow the download. Select 'Allow' to download the profile.
2 Switch to the Settings app. One of the first options will be a new entry called Profile Downloaded. Select it and then select the profile called CS FS Student Printer.
3 You can click on More Details to review the elements that are included in the profile before you install it. Click on Install in the top right to start the installation progress.
4 Enter your device passcode to proceed. Review the displayed message and click on Next to continue.
5 You will be warned that the profile is not signed. Click on Install to continue.
6 Finally click on Install again to actually install the profile.
The student printer is now available on your device. See below how you can create a print job. You can close the Settings app.
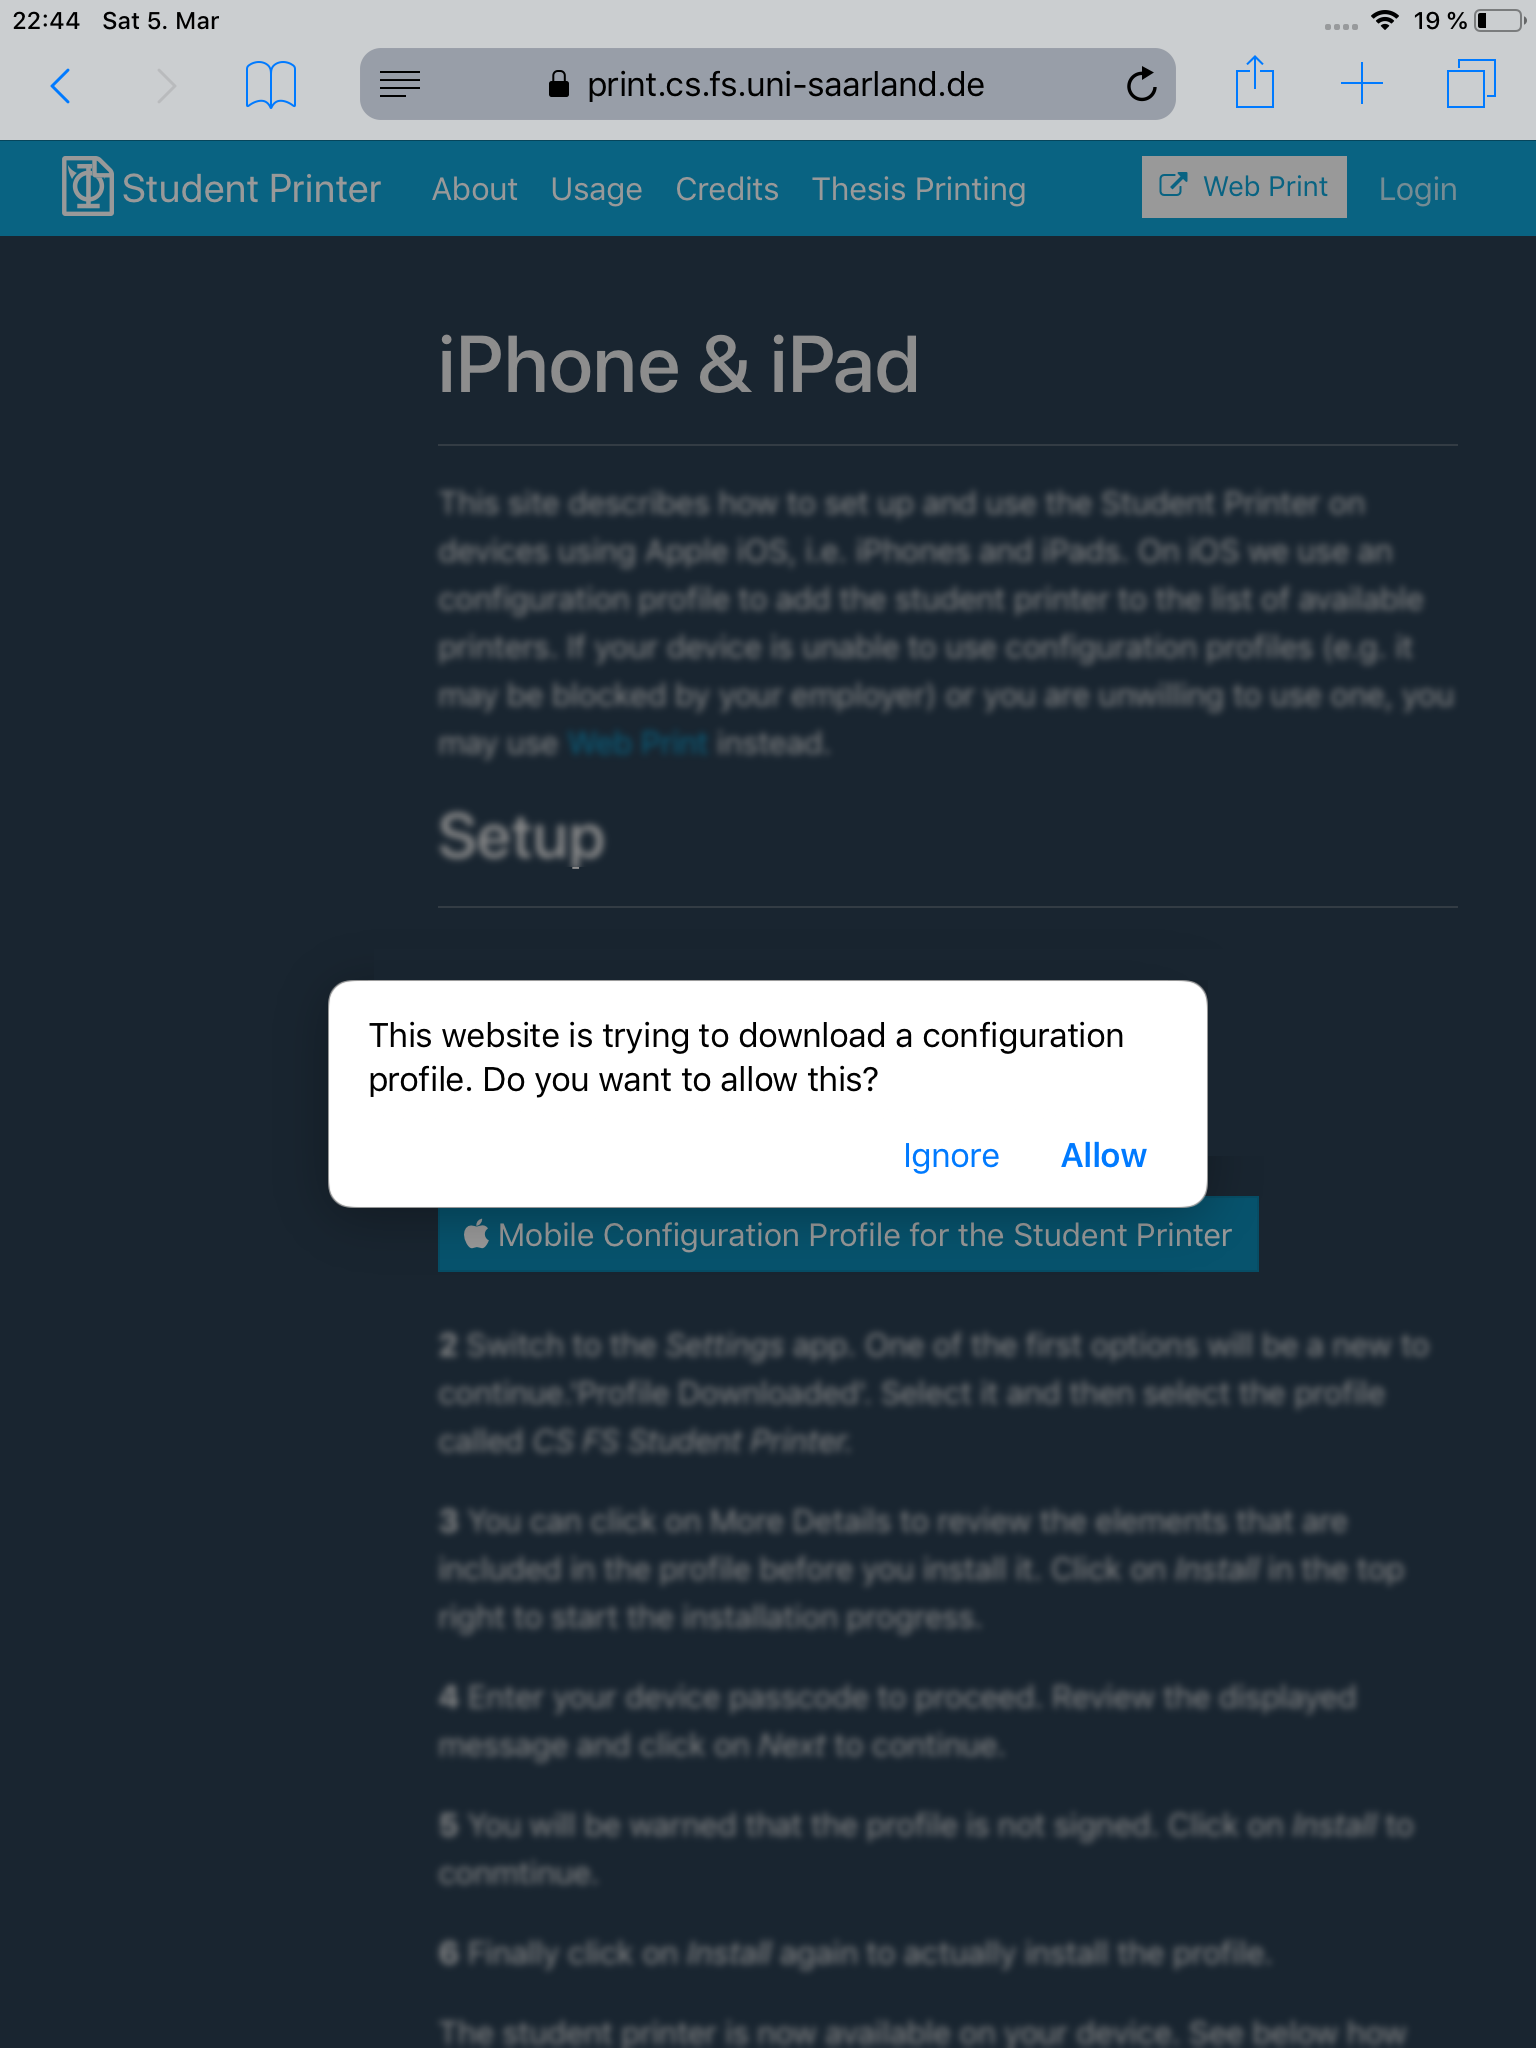
1 Load configuration profile
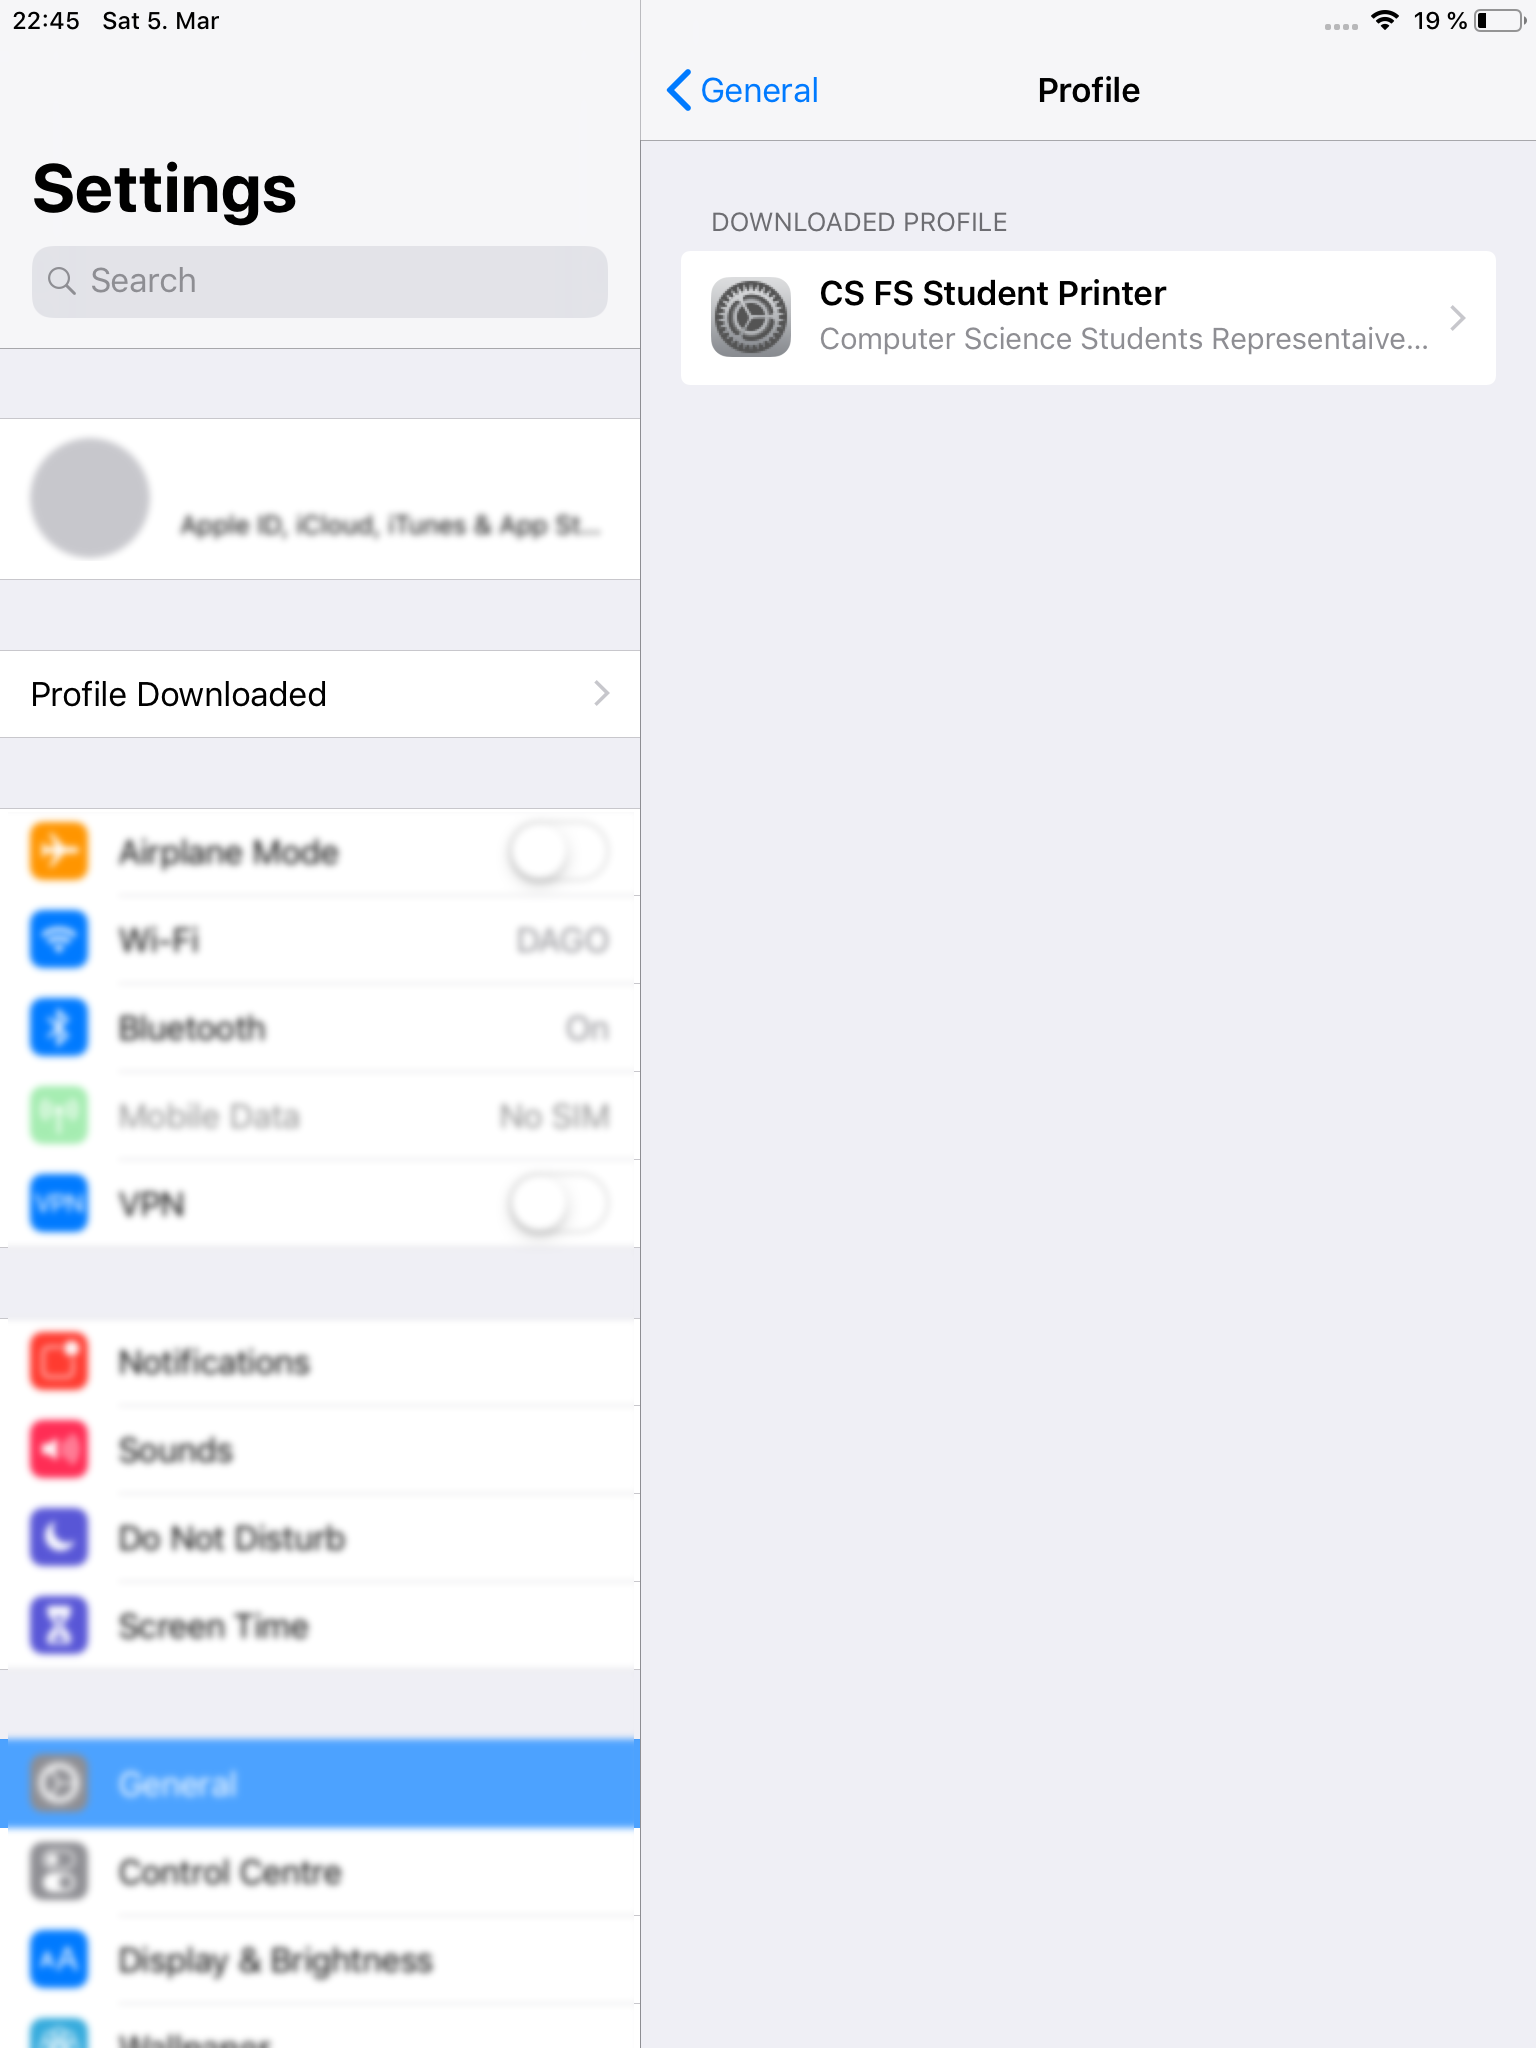
2 Settings > Profile Loaded
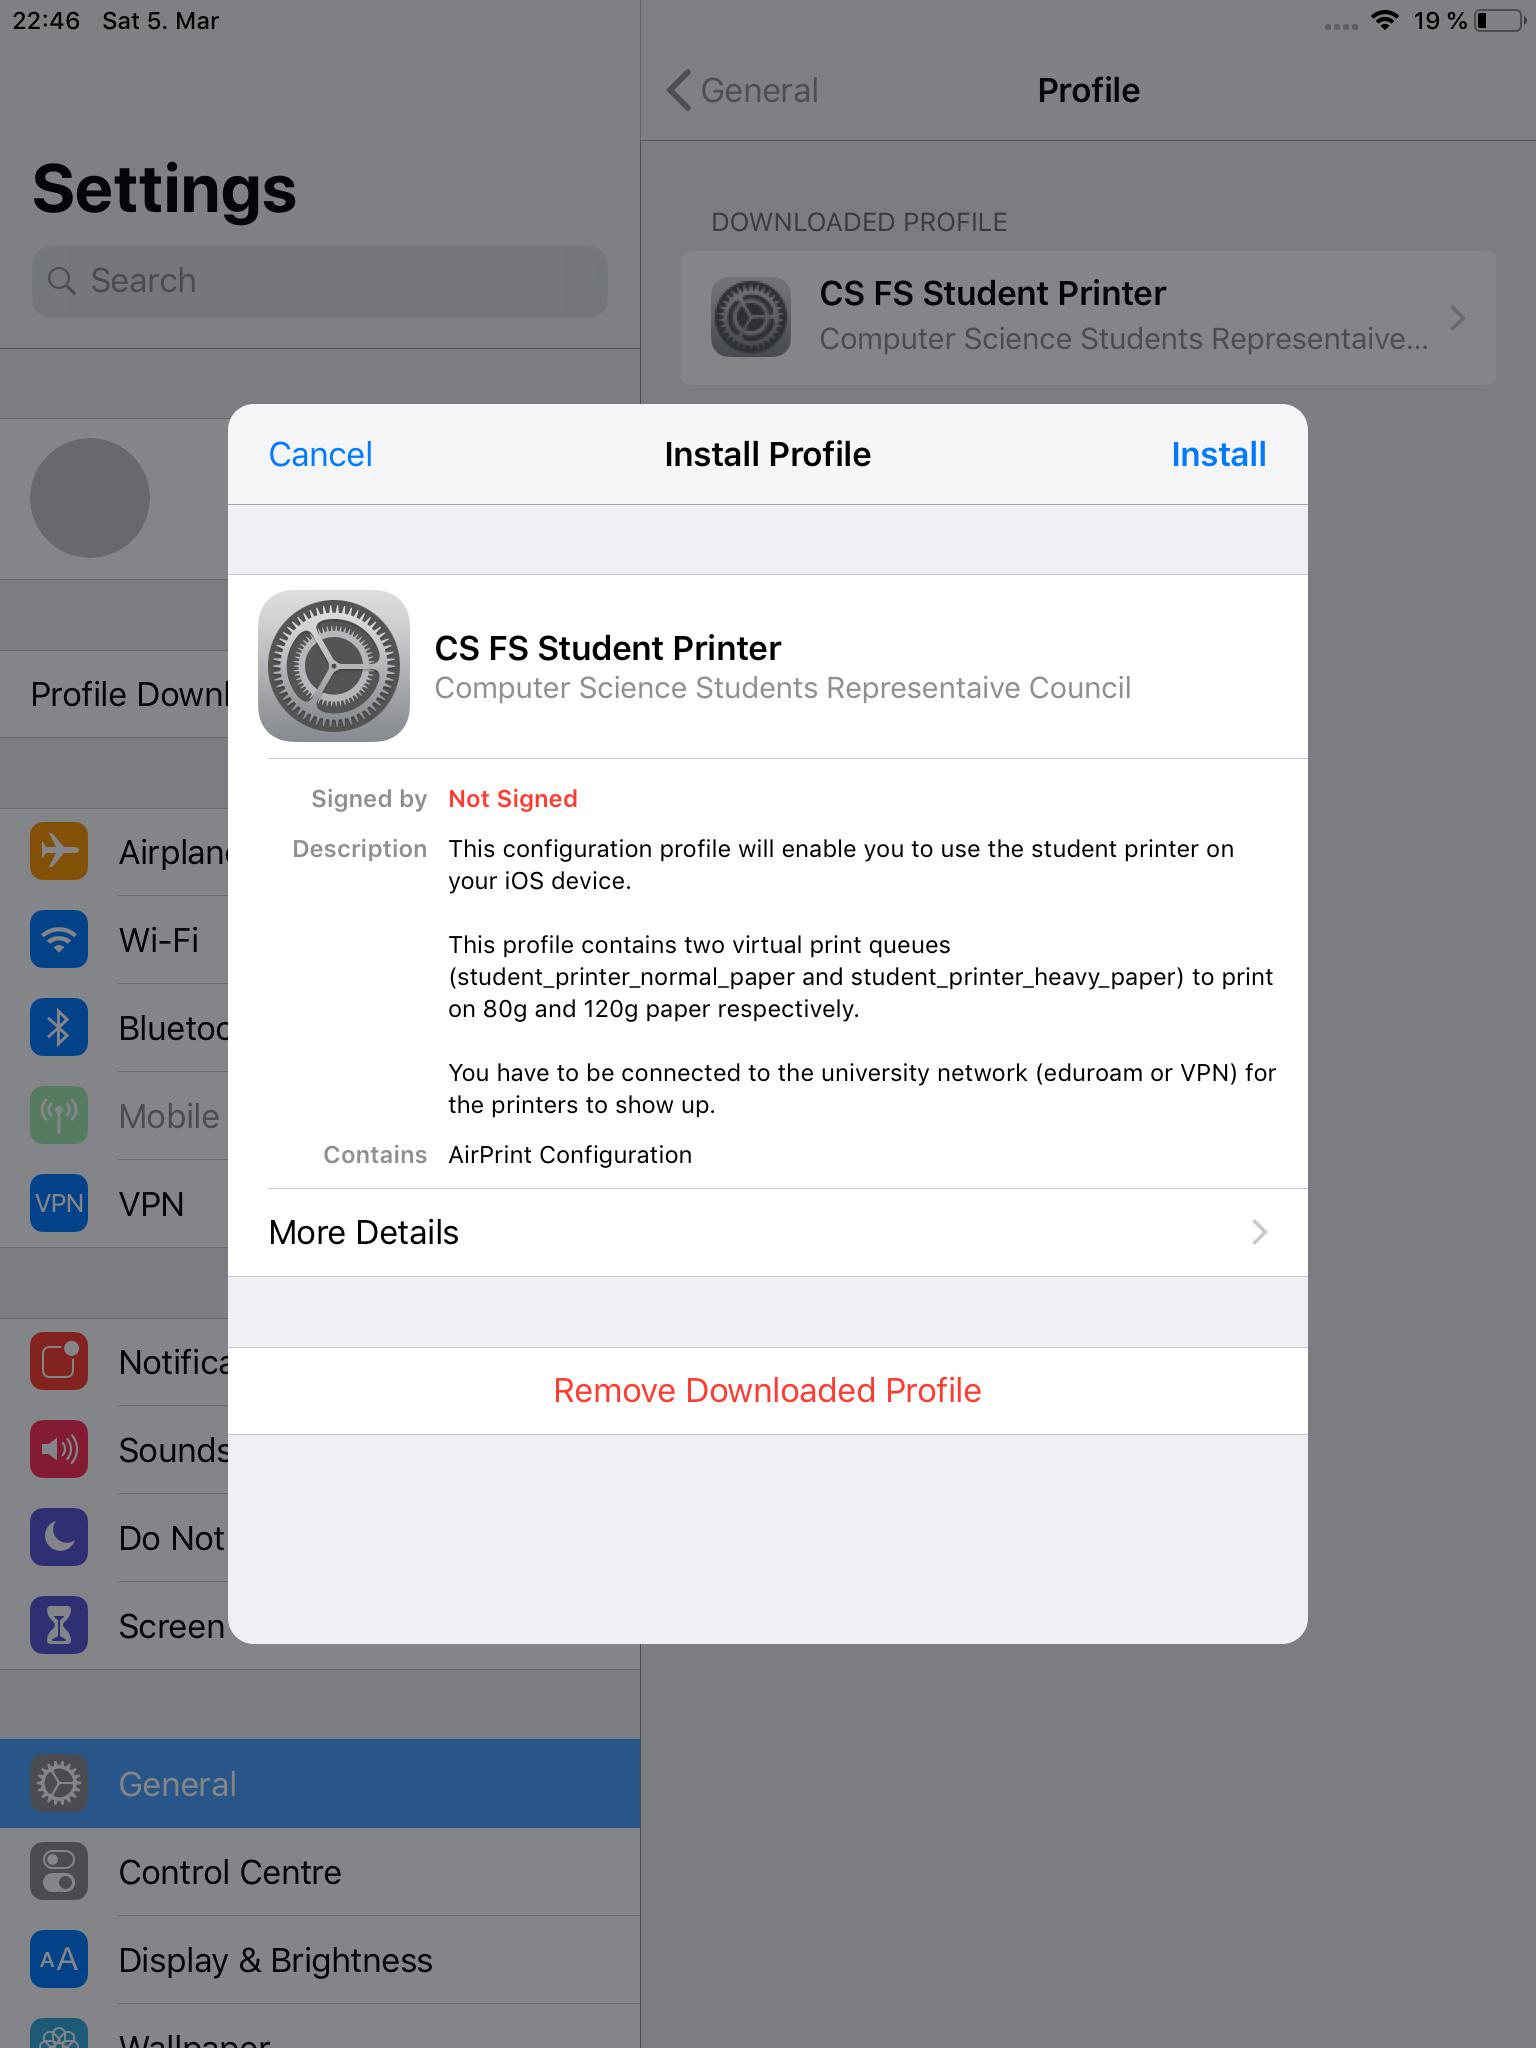
3-6 Install the profile
Create Print Jobs
After you have followed the steps above to install the printer, you can then print from any app that supports printing on iOS like with any other printer, but with the difference that you need to authenticate with your printer account before the print job is send.
1 In an app open the share menu. On the bottom row select the Print icon. You might need to scroll to the right to find it.
2 In the Printer Options dialog click on Printer to select a printer.
3 In the list select one of the two printers that have been added (student_printer_normal_paper prints on eco-friendly 80g/m² paper and student_printer_heavy_paper clear white 120g/m²). The printers will not show up, if you are not connected to the university network (i.e. via eduroam or VPN).
4 You will be asked to authenticate. Enter the username (name0001 or s8name) and password for your printer account. This information will be saved for further prints.
5 Back in the Printer Options dialog you may adjust the printing options (print range, double-sided print, and color print) by clicking on Options. These settings affect the price of your print outs.
6 Finally click on Print in the top right to send the print job to the student printer.
Your print job is now in the print queue. Go to the student printer to release it for print. Read more about that here.
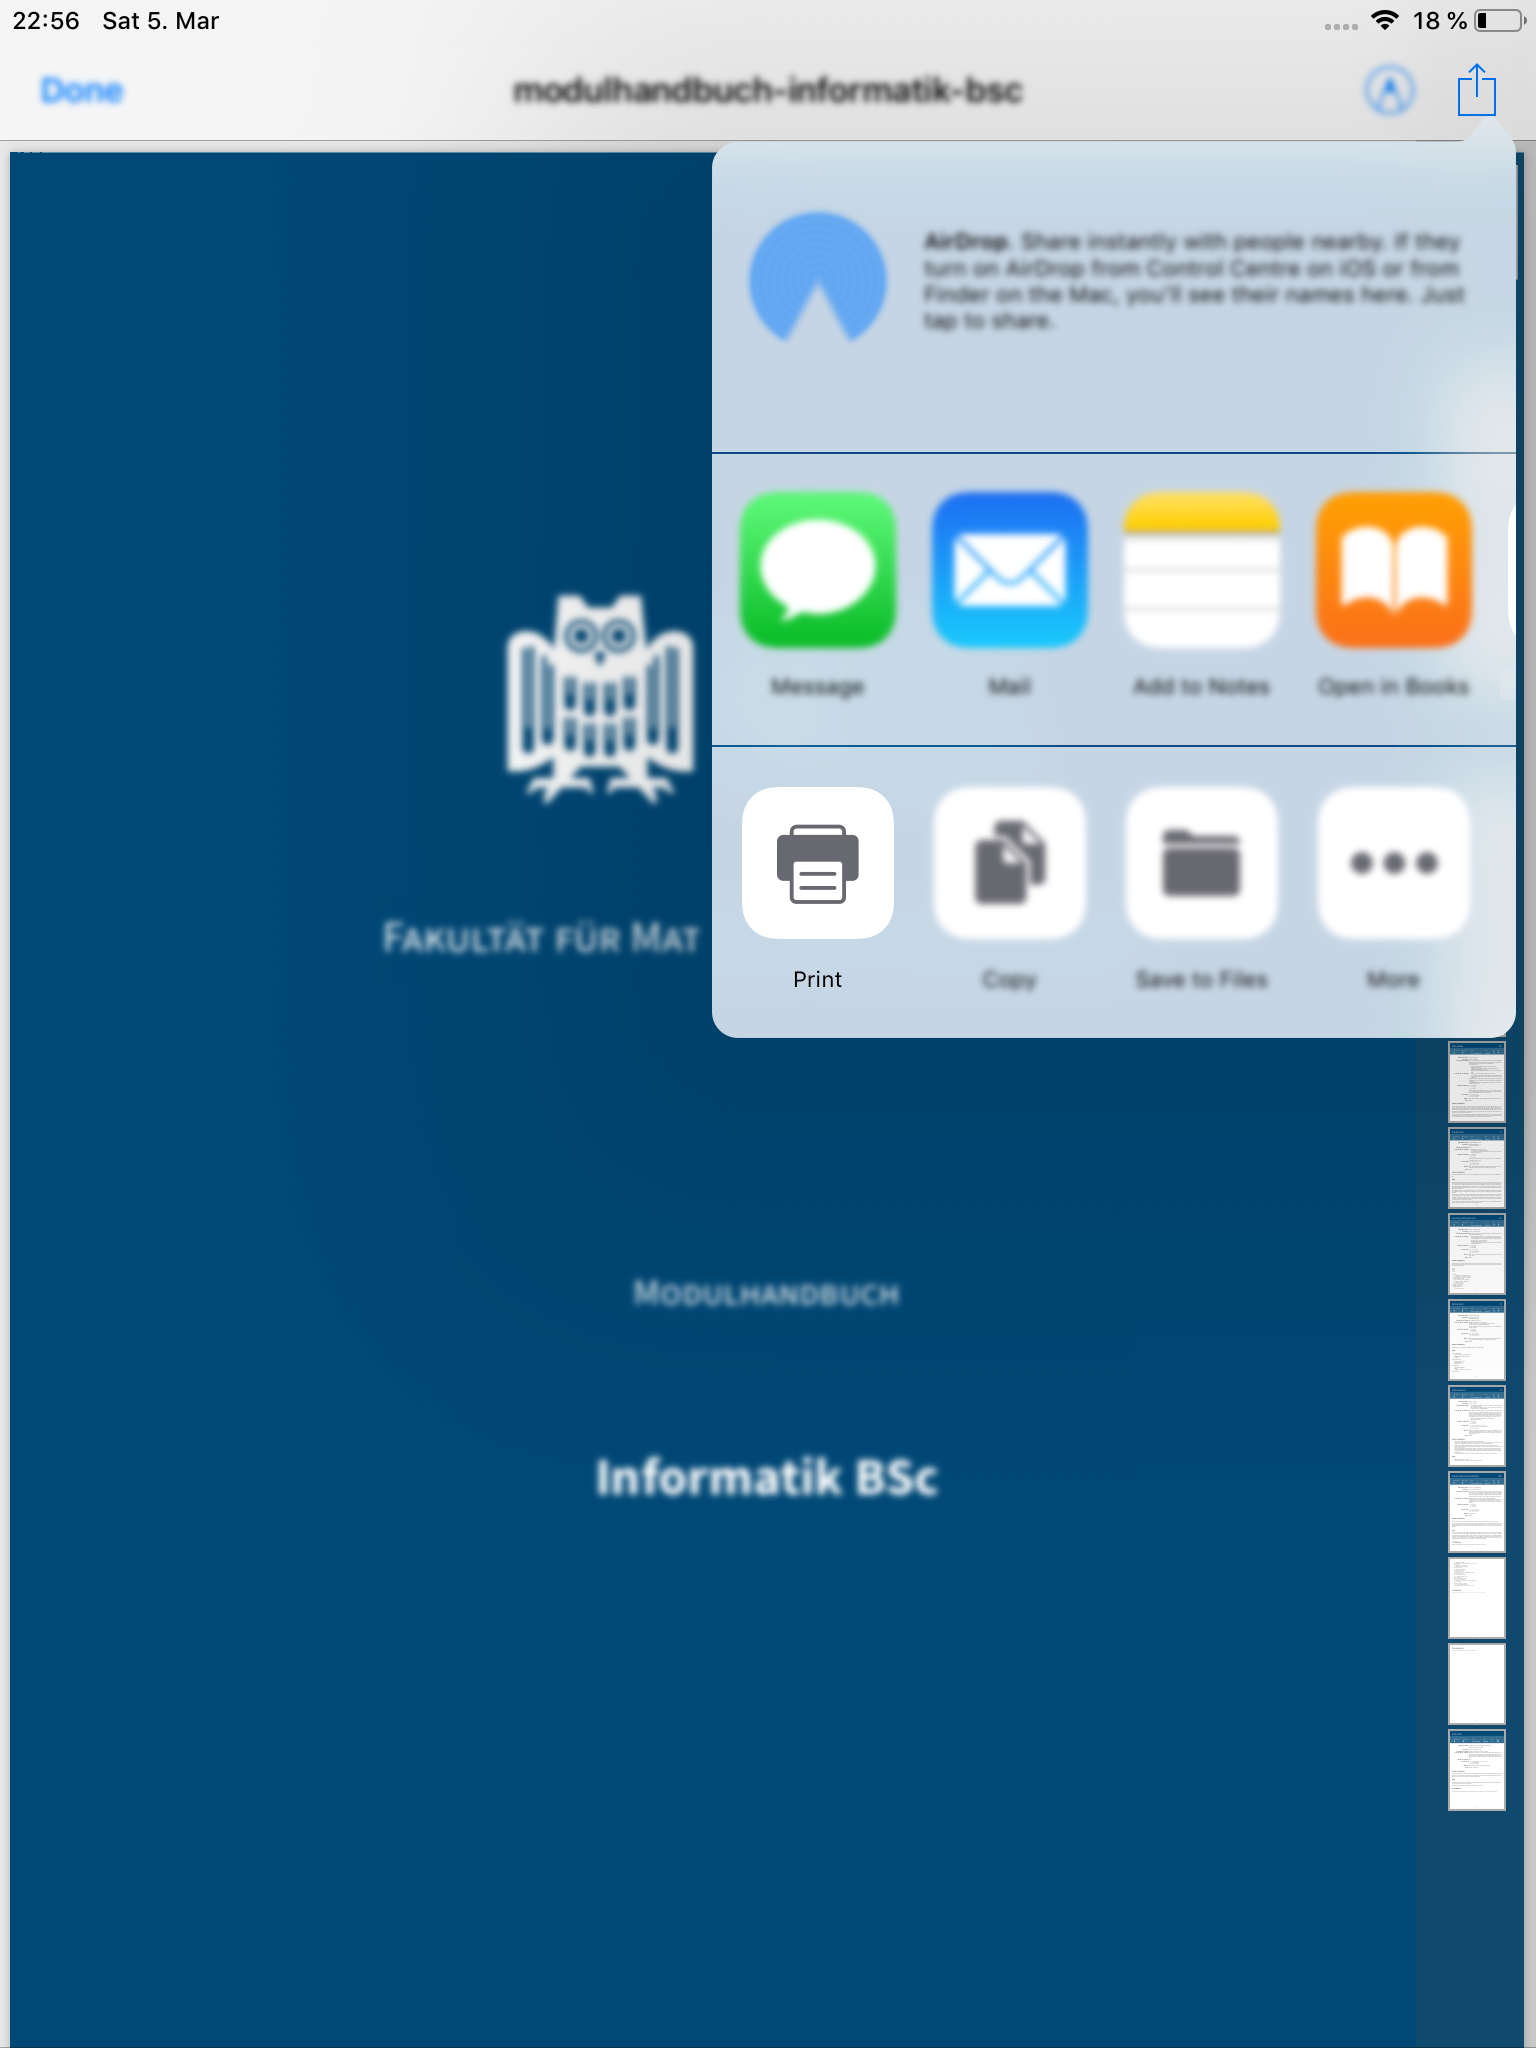
1 Share > Print
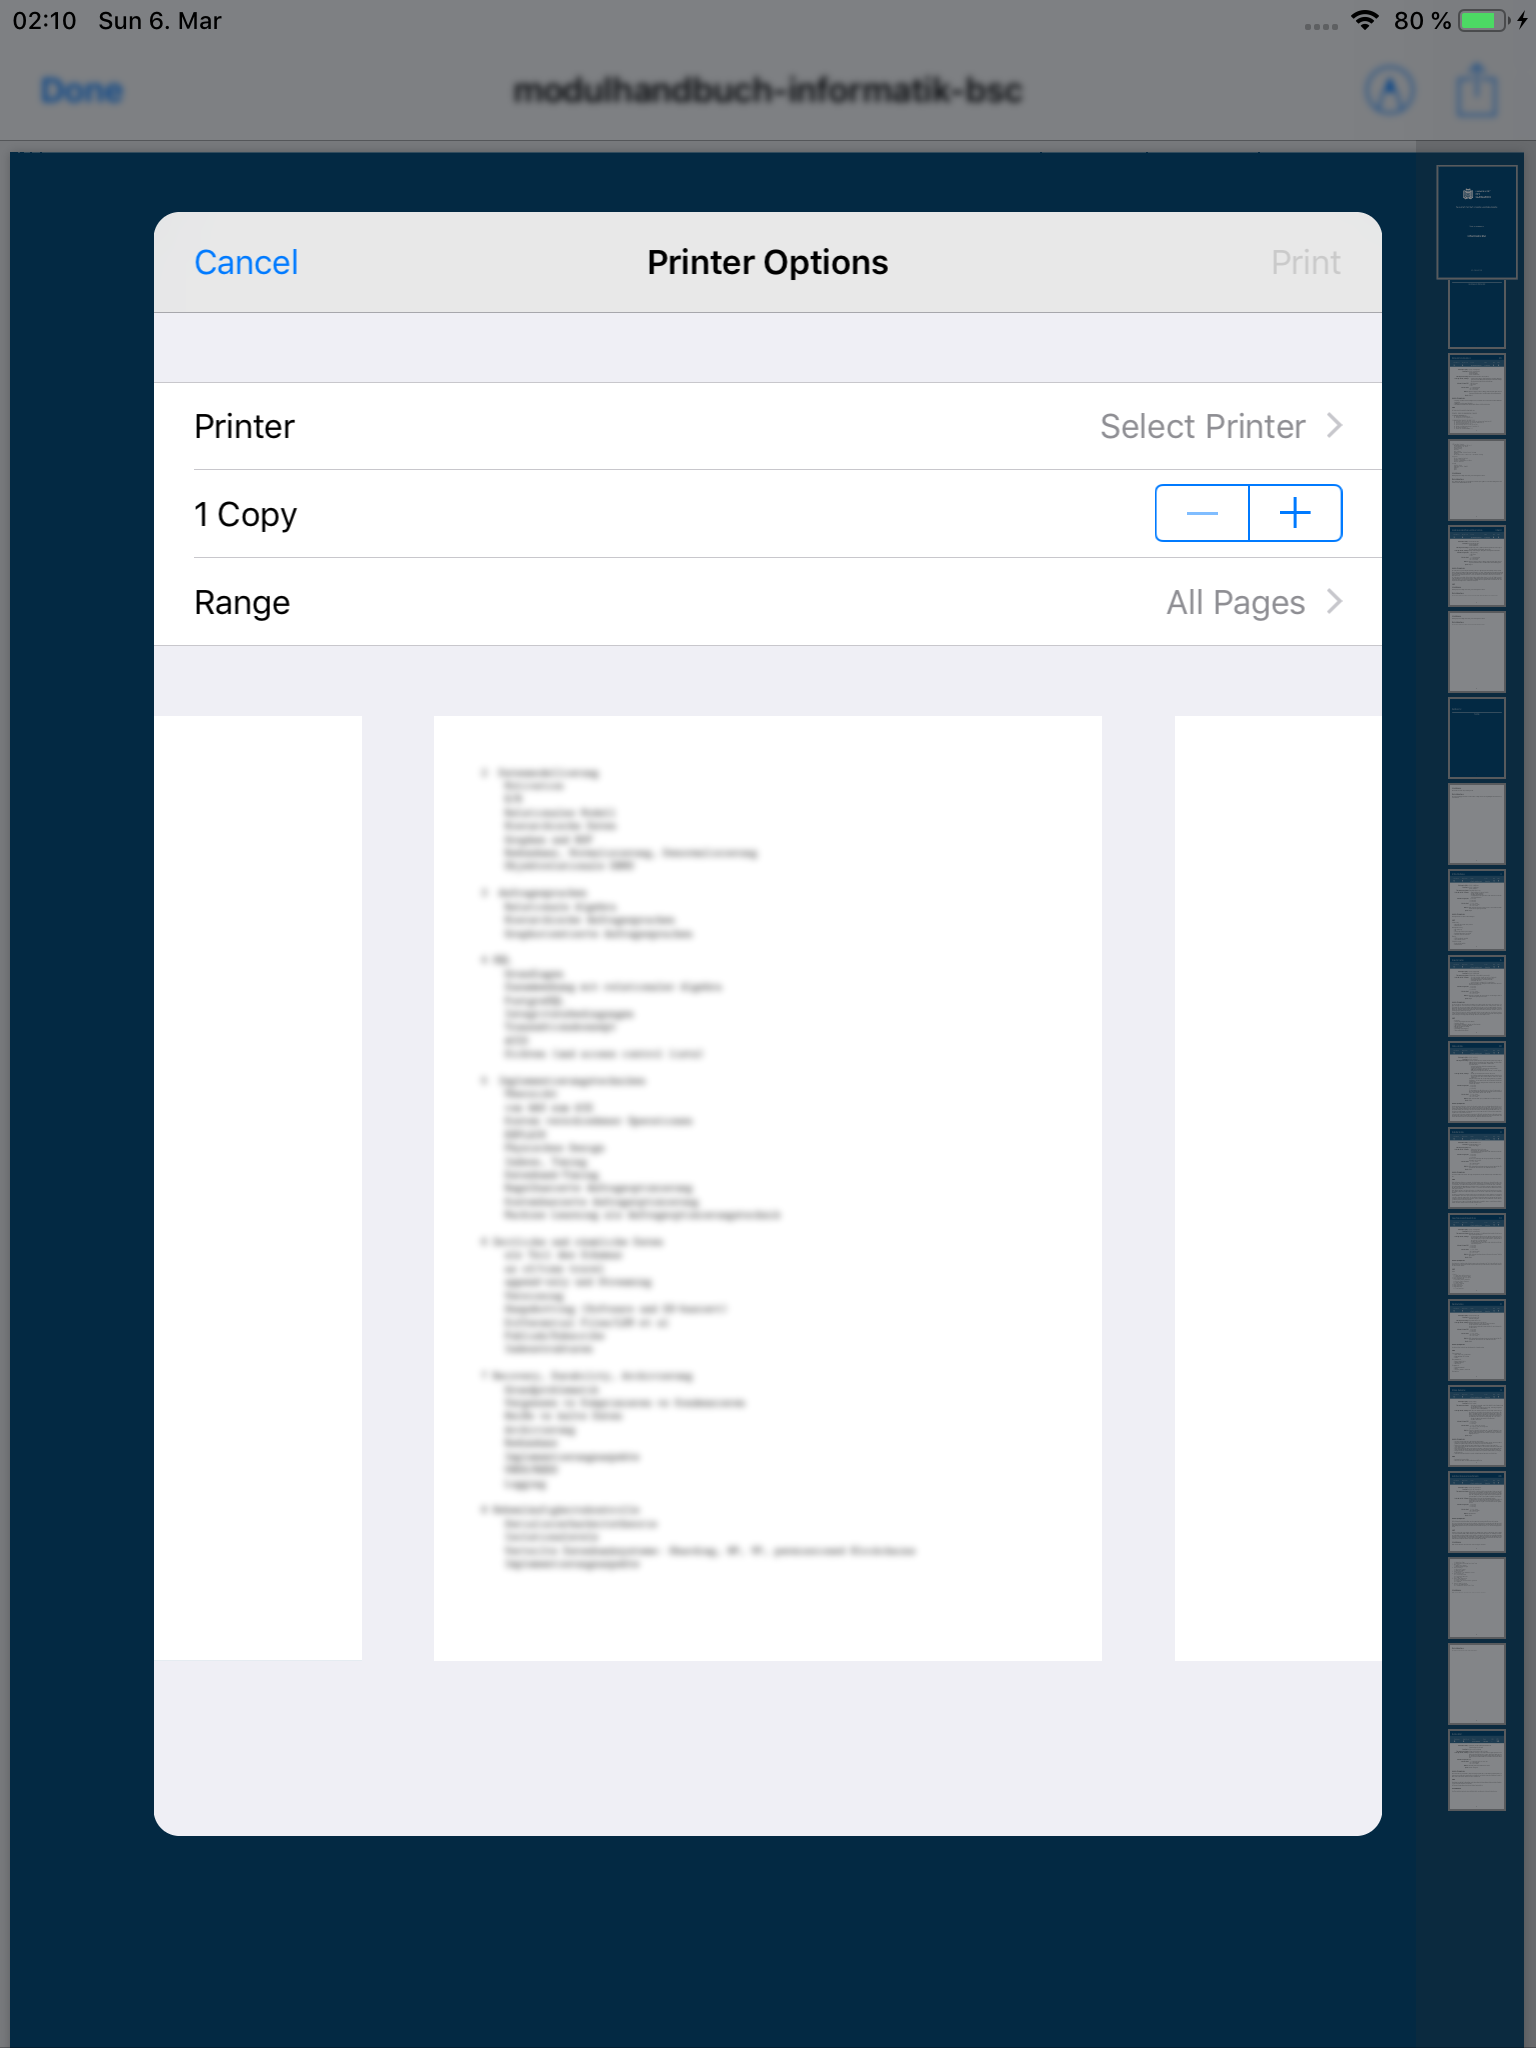
2 Click on Printer to select a printer
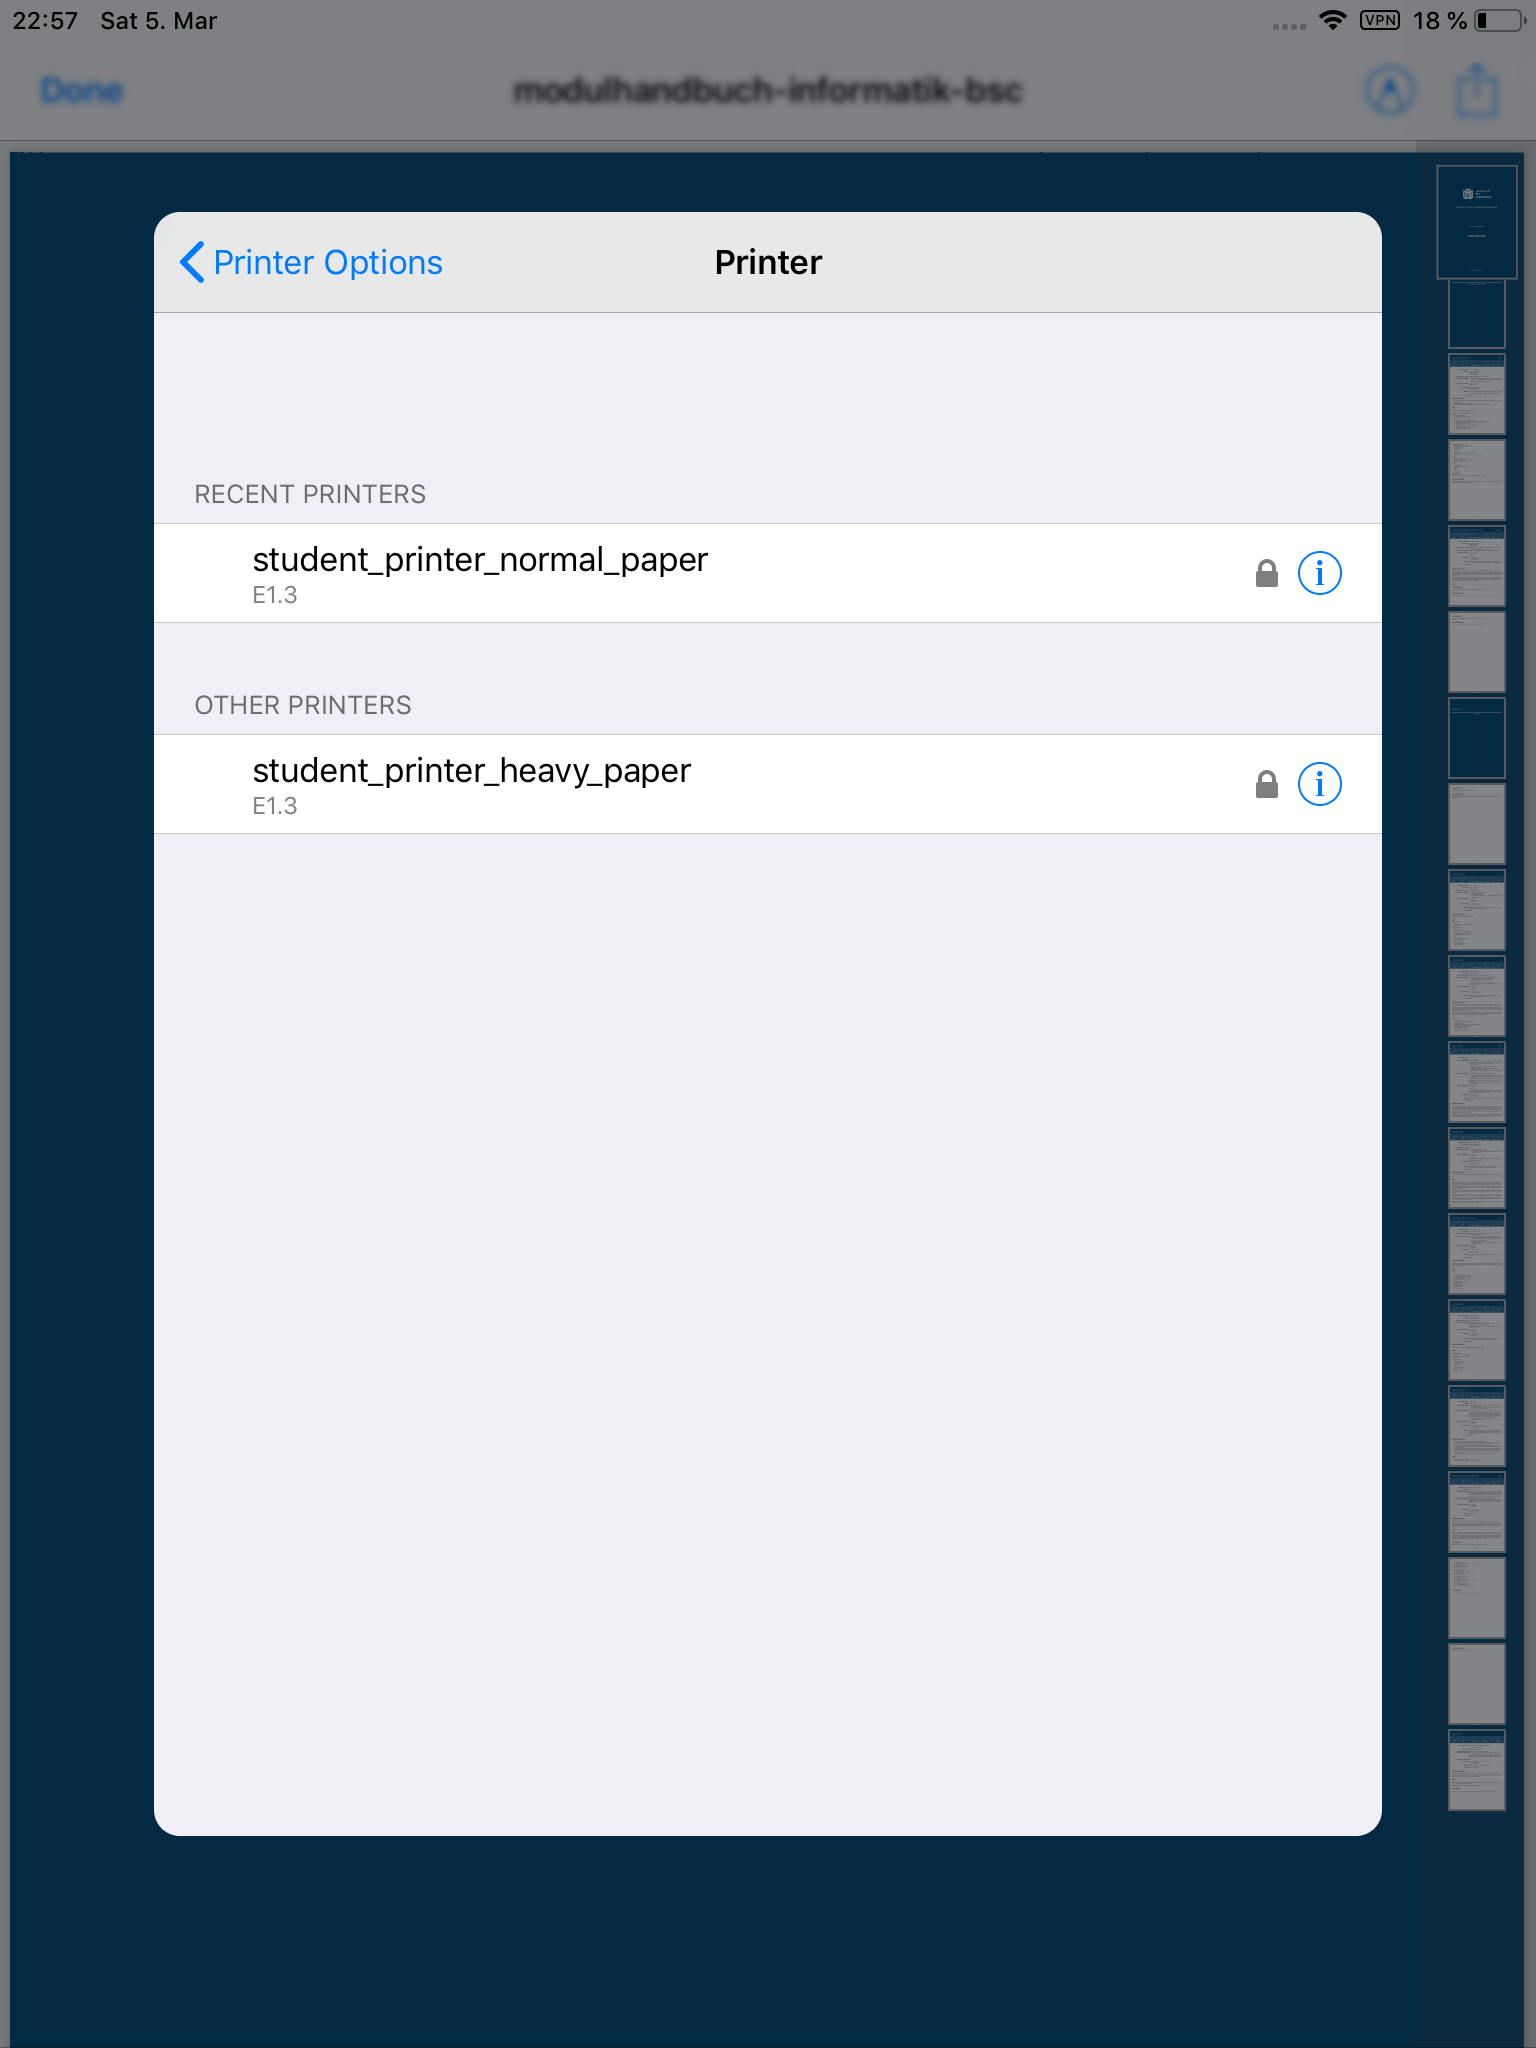
3 List of available printers
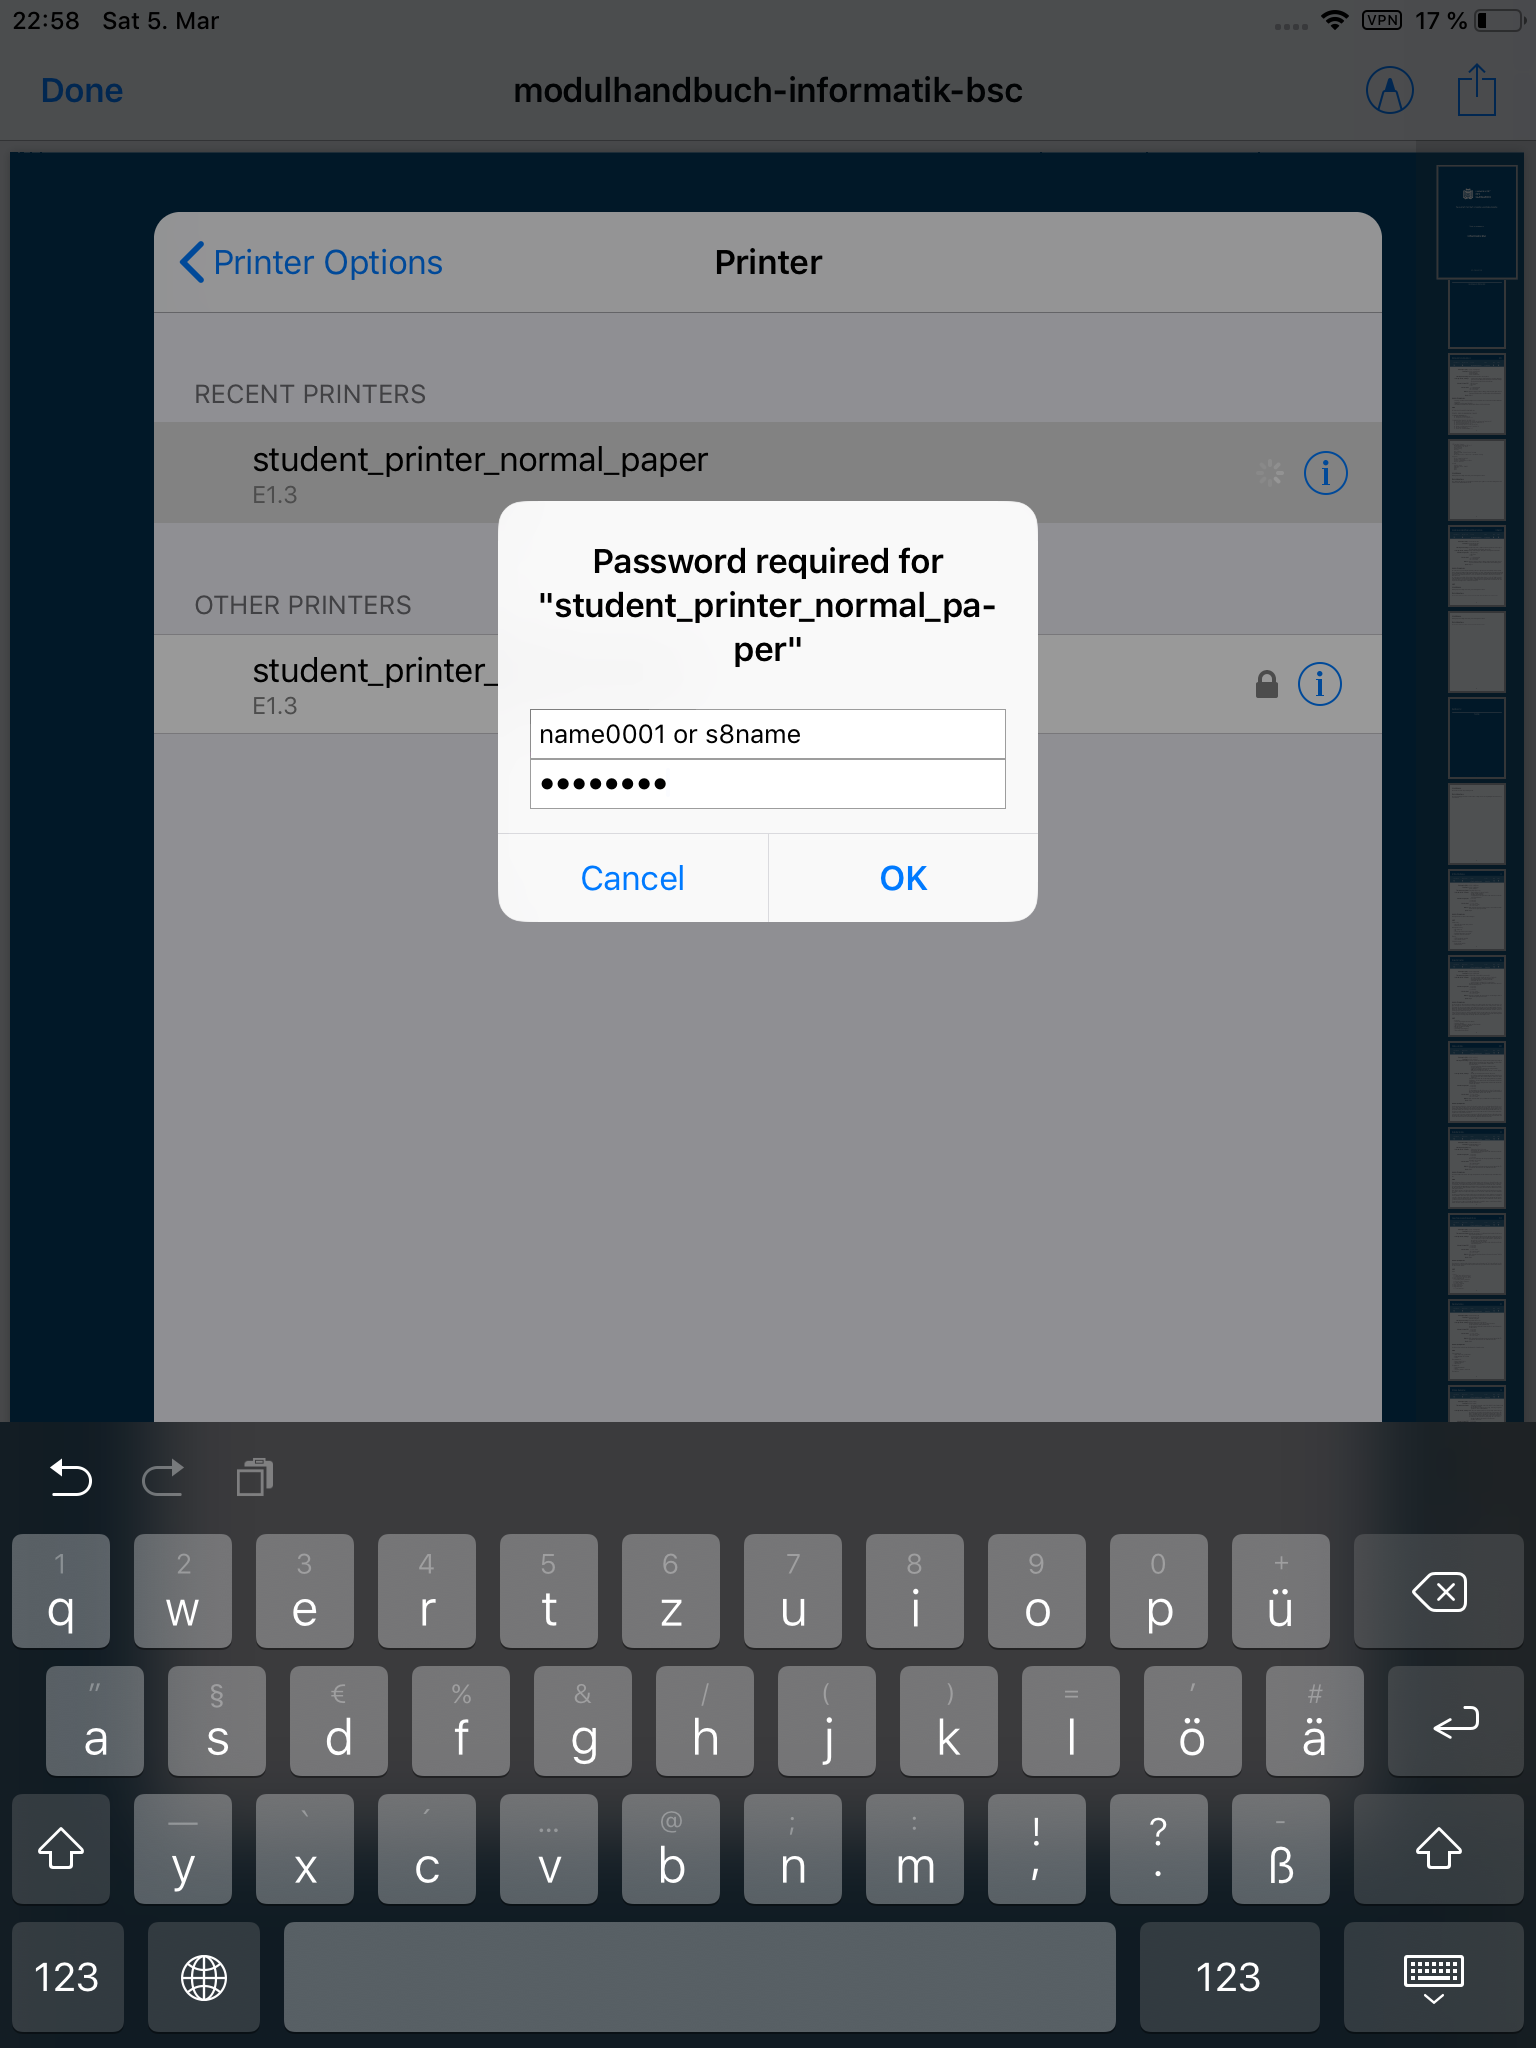
4 Enter username and password
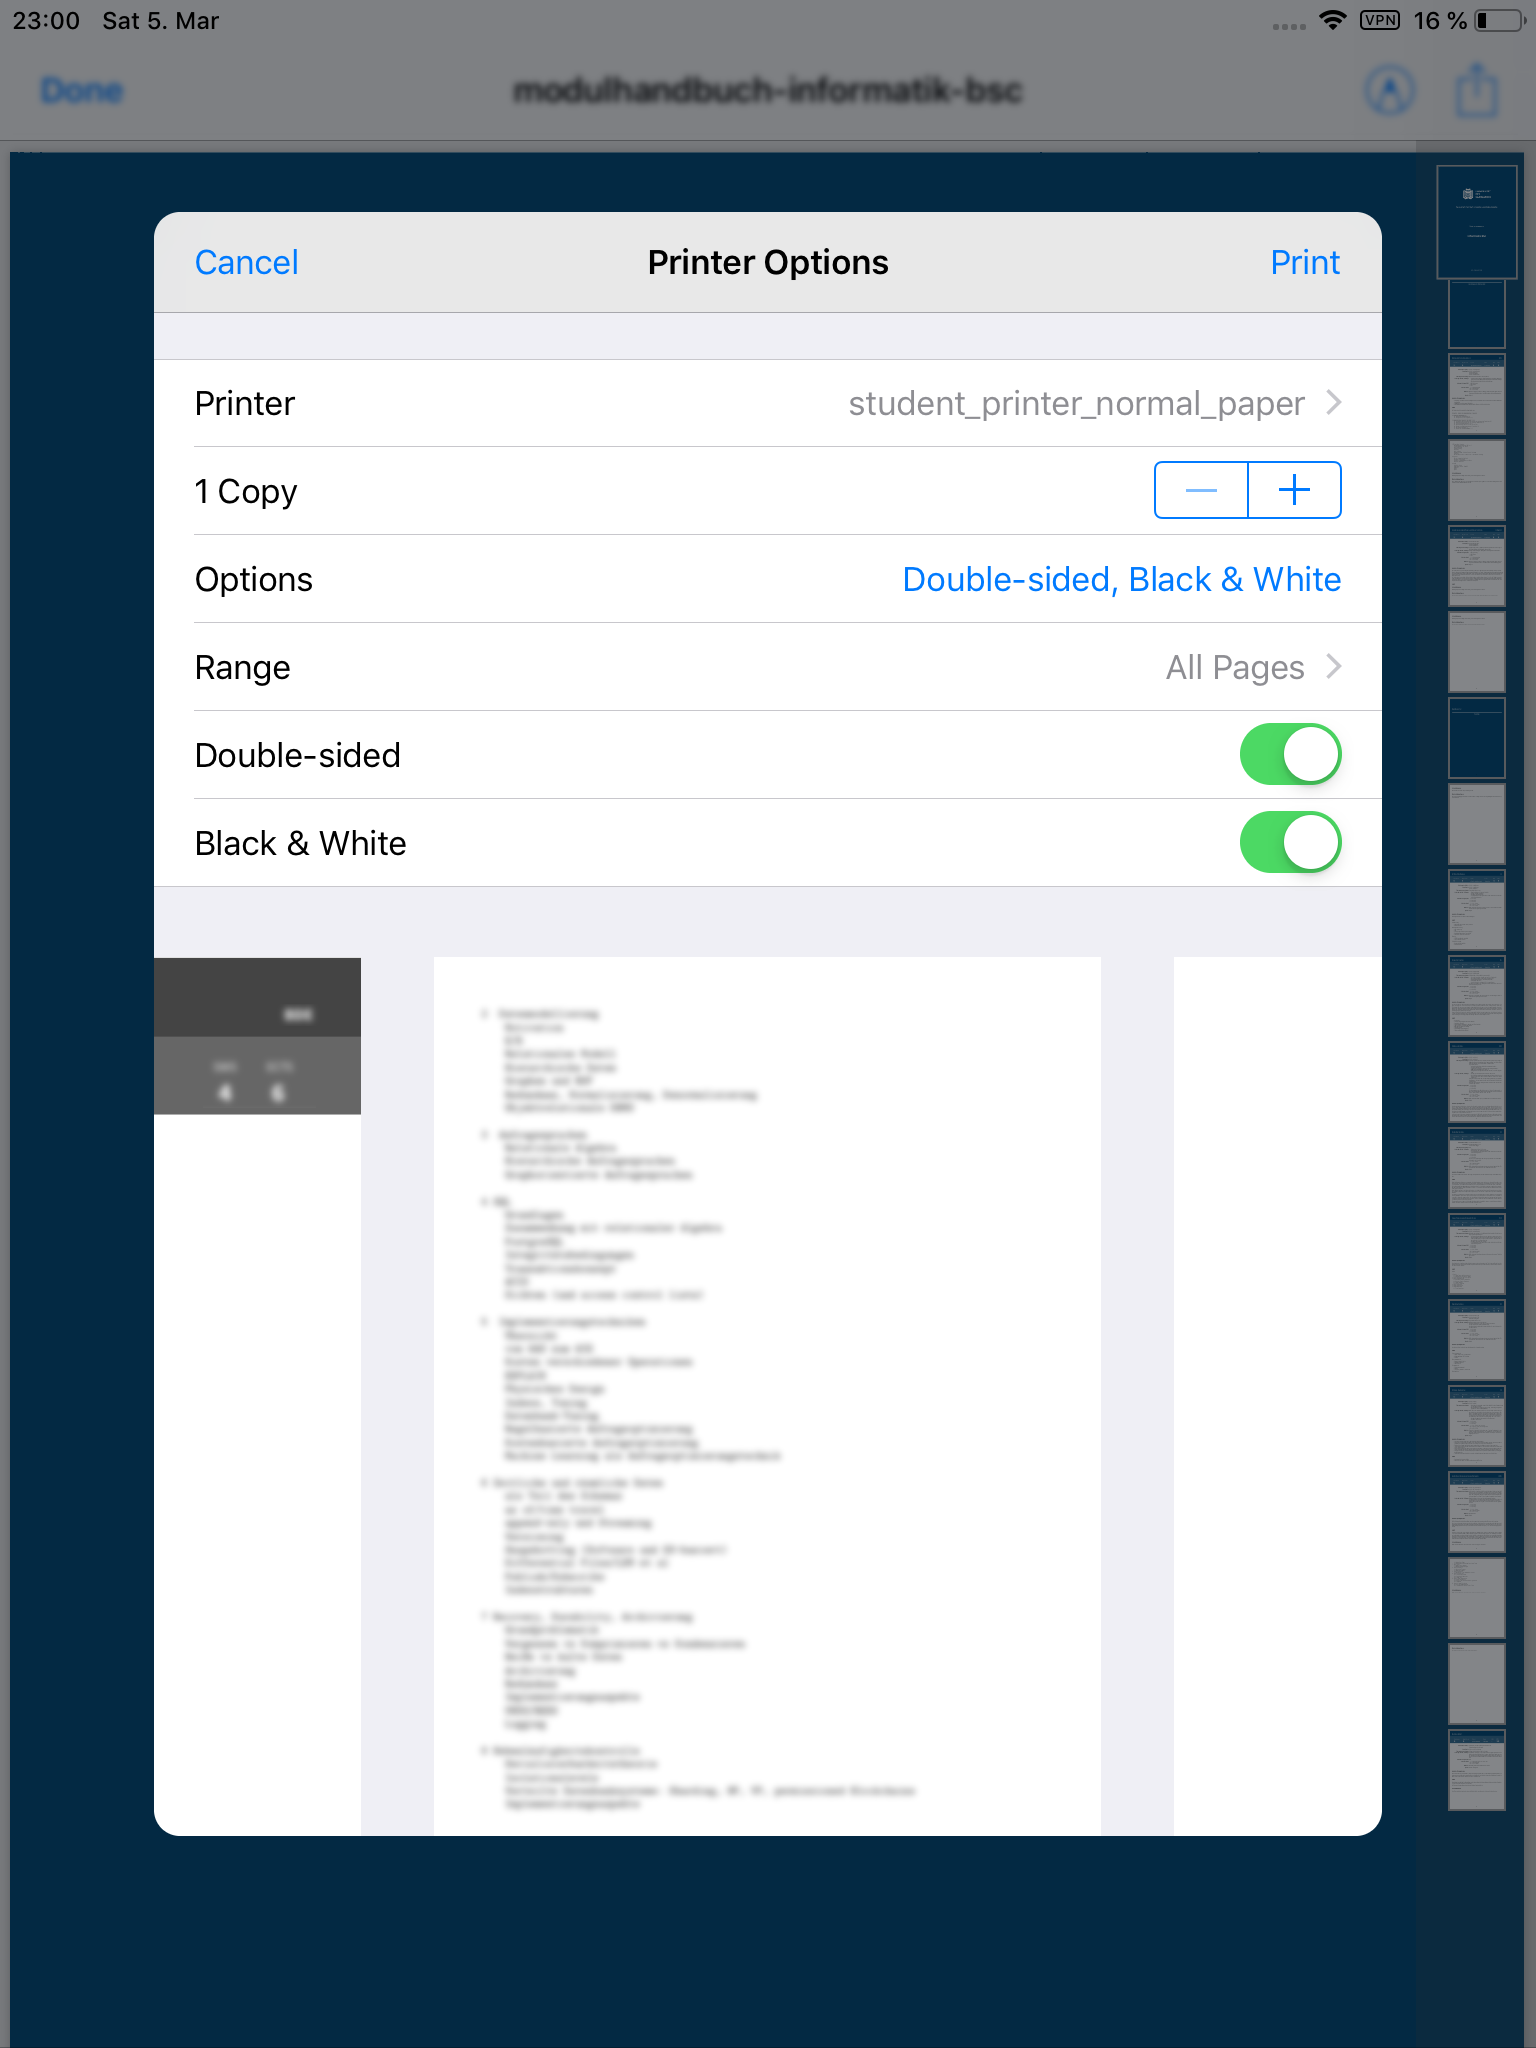
5 Printing options
Change Username
iOS will save the credentials that you entered on your first print for all further prints. If you want to print to a different queue, you need to delete the current credentials.
1 Initiate a print as always. In the Printing Options dialog click on Printer to go to the lists of printers.
2 Click on the encircled i next to the printer of which you like to reset the credentials.
3 Click on Forget Username and Password at the bottom.
4 Go back to the printer list and select the printer. You will be asked to enter the new username and password.
5 Finish printing as usual.
Your print jobs will now be submitted to the new queue.

2 Click on ⓘ
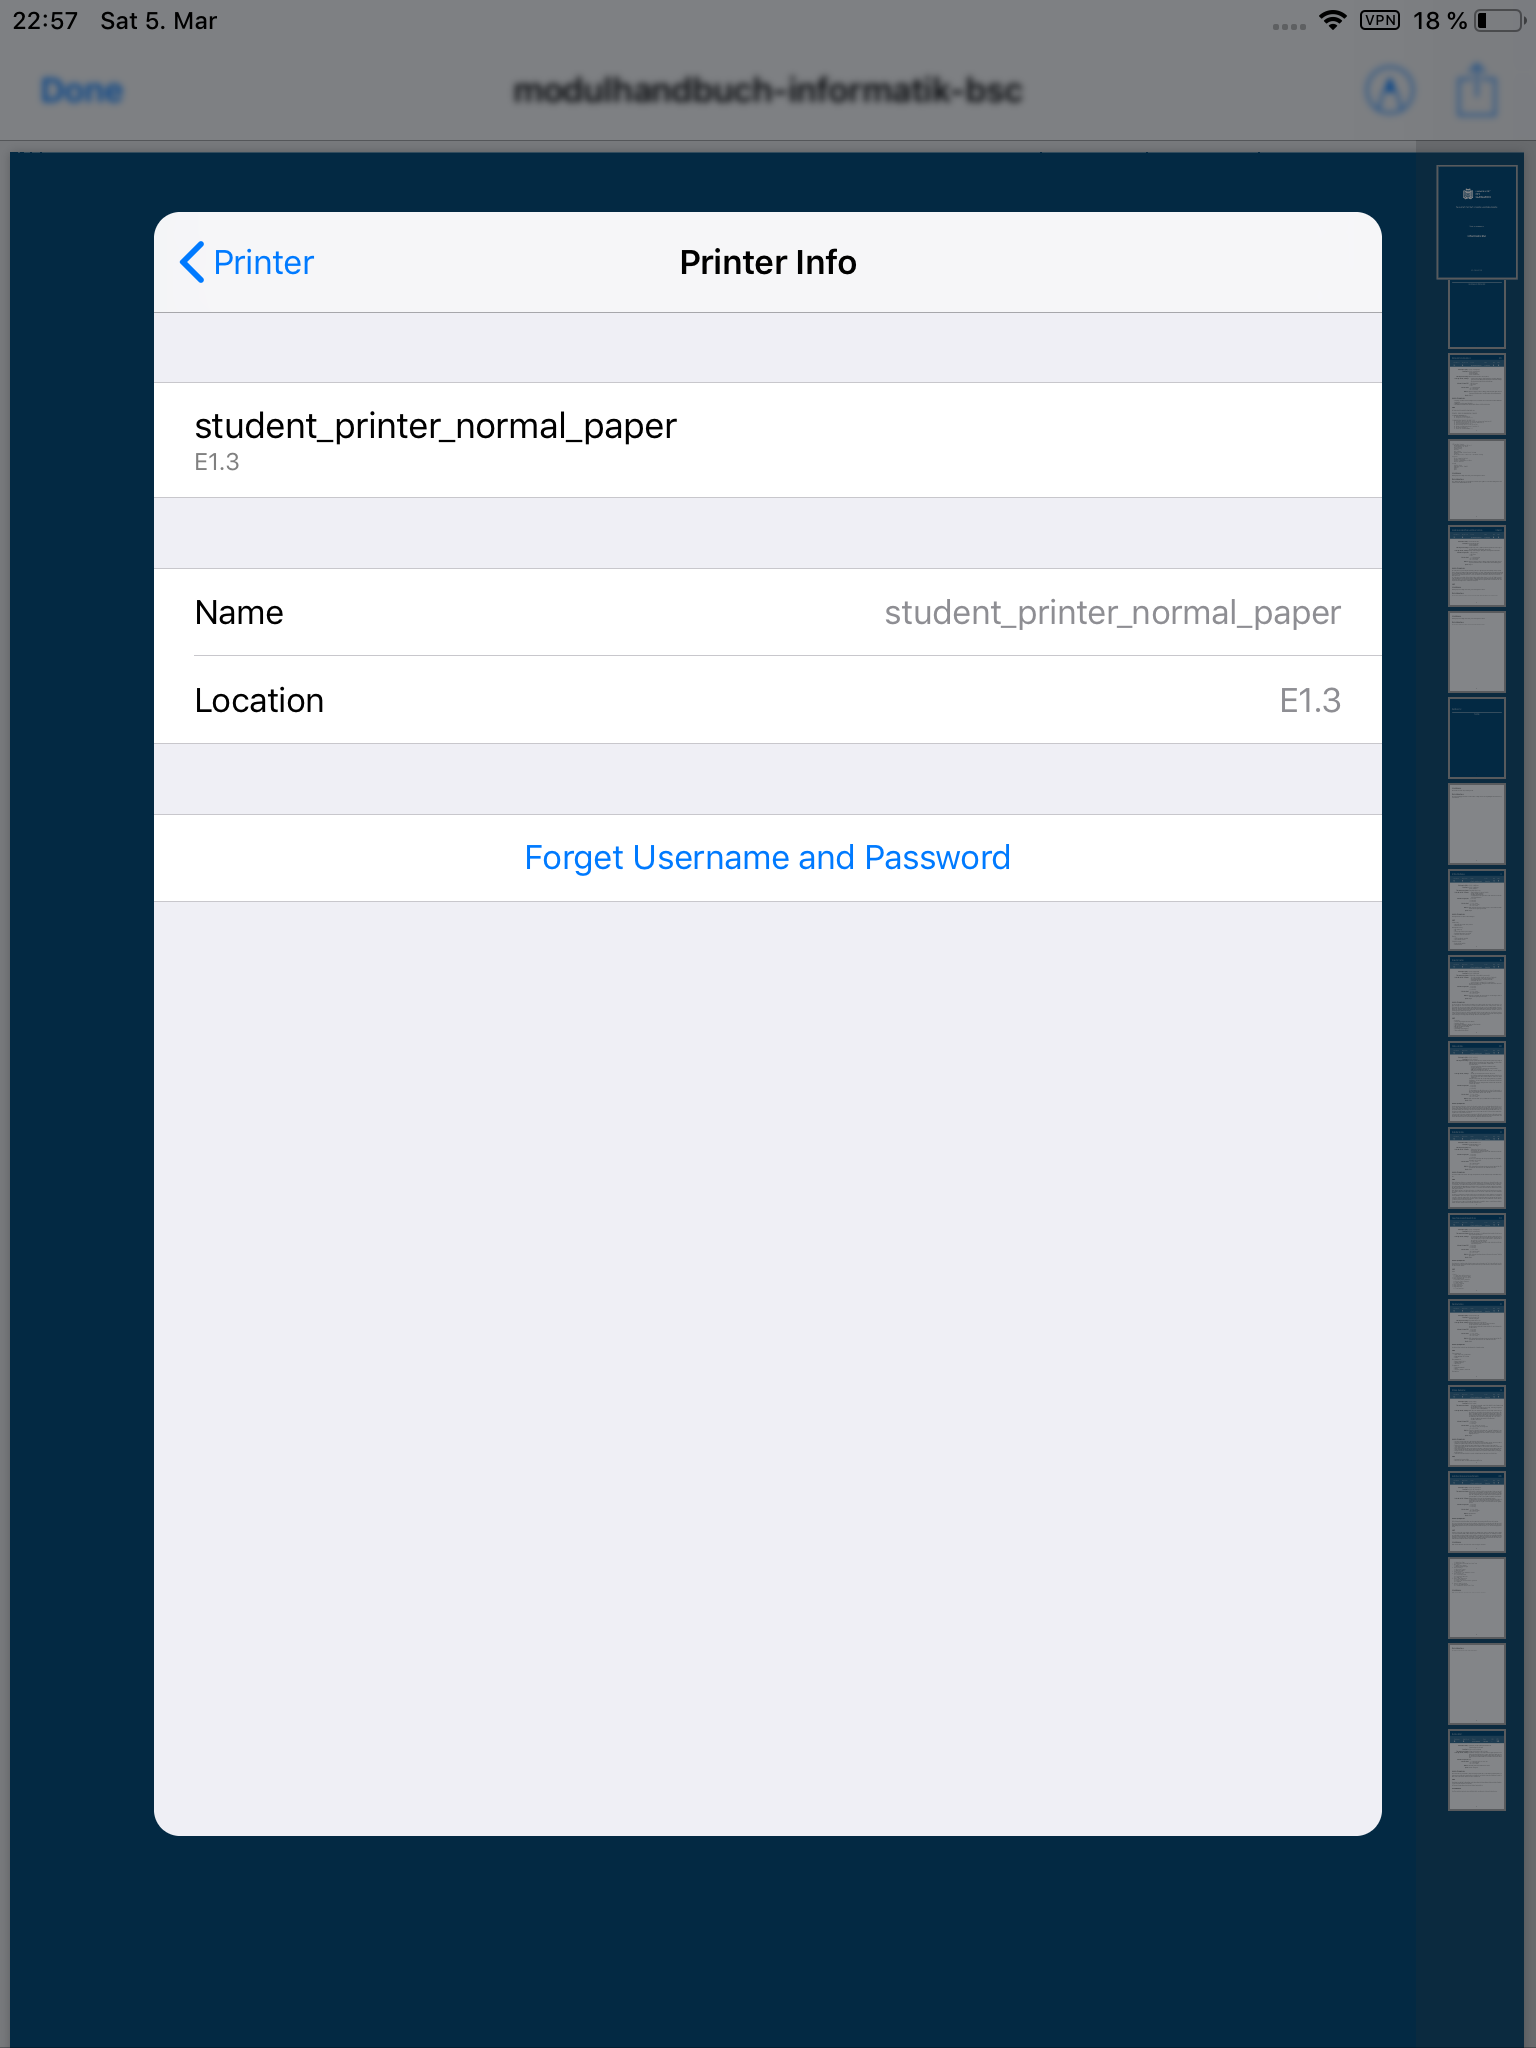
3 Click on Forget Username and Password
Remove Student Printer
If you want to entirely remove the student printer from your device, you may use the following steps.
1 Open the Settings app on your device.
2 Open the General section and then select Profile.
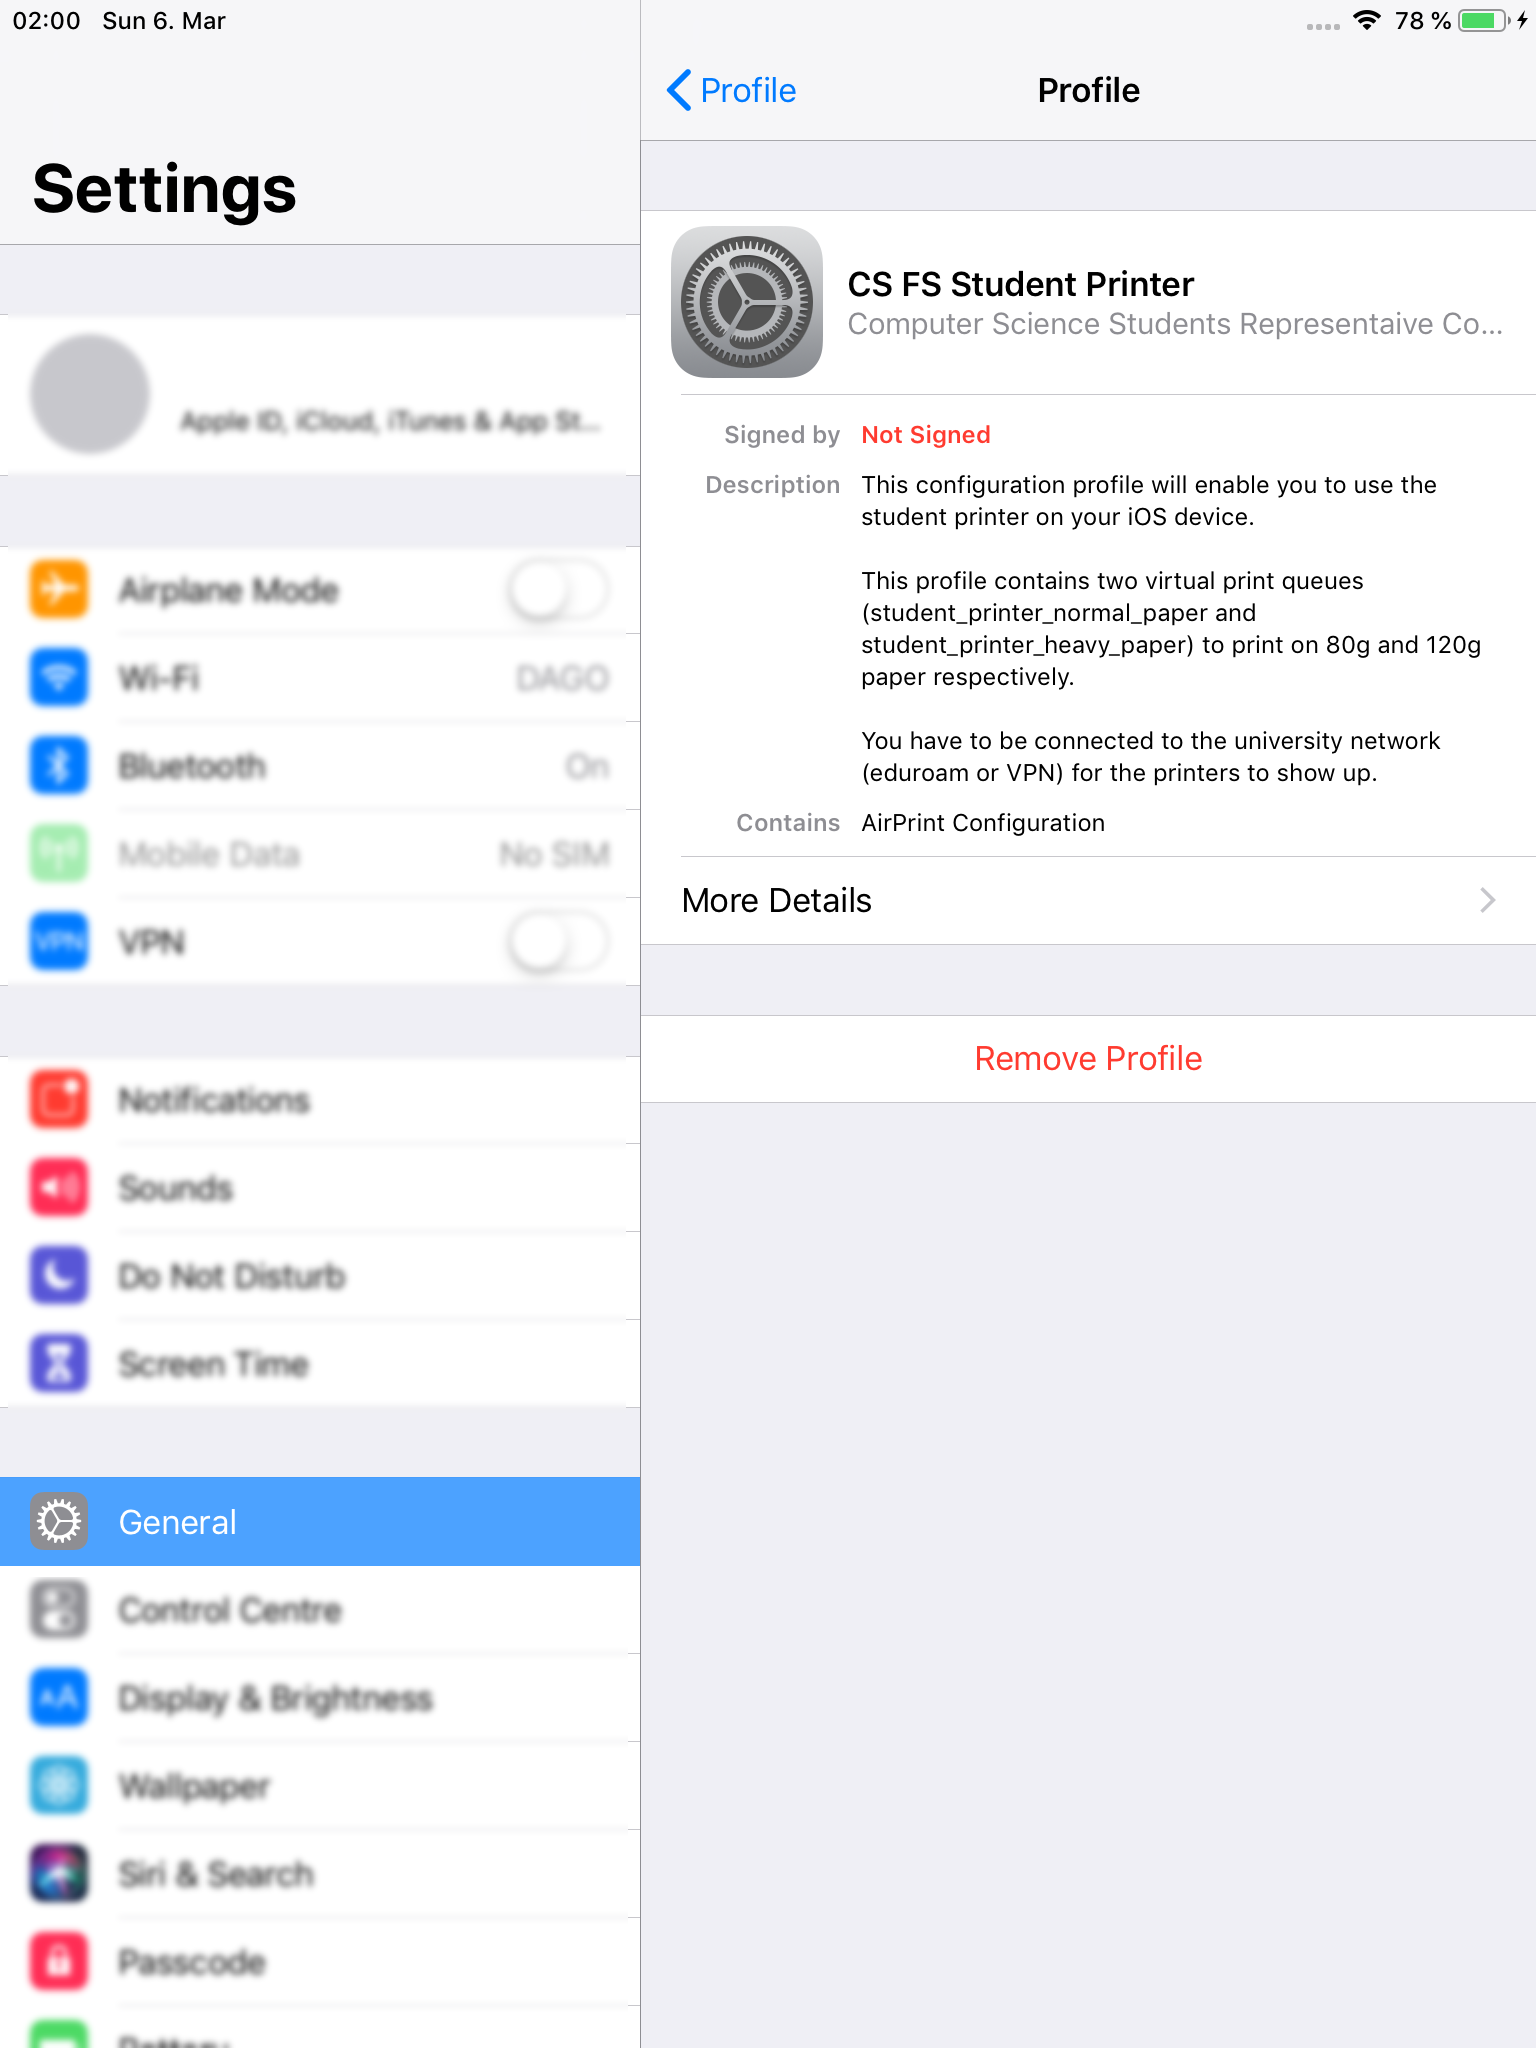
3 Form the Configuration Profile list select the profile called CS FS Student Printer.
4 At the bottom click on Remove Profile and enter your passcode.
5 Finally confirm the action by clicking on Remove.
The student printer is now removed from your device.
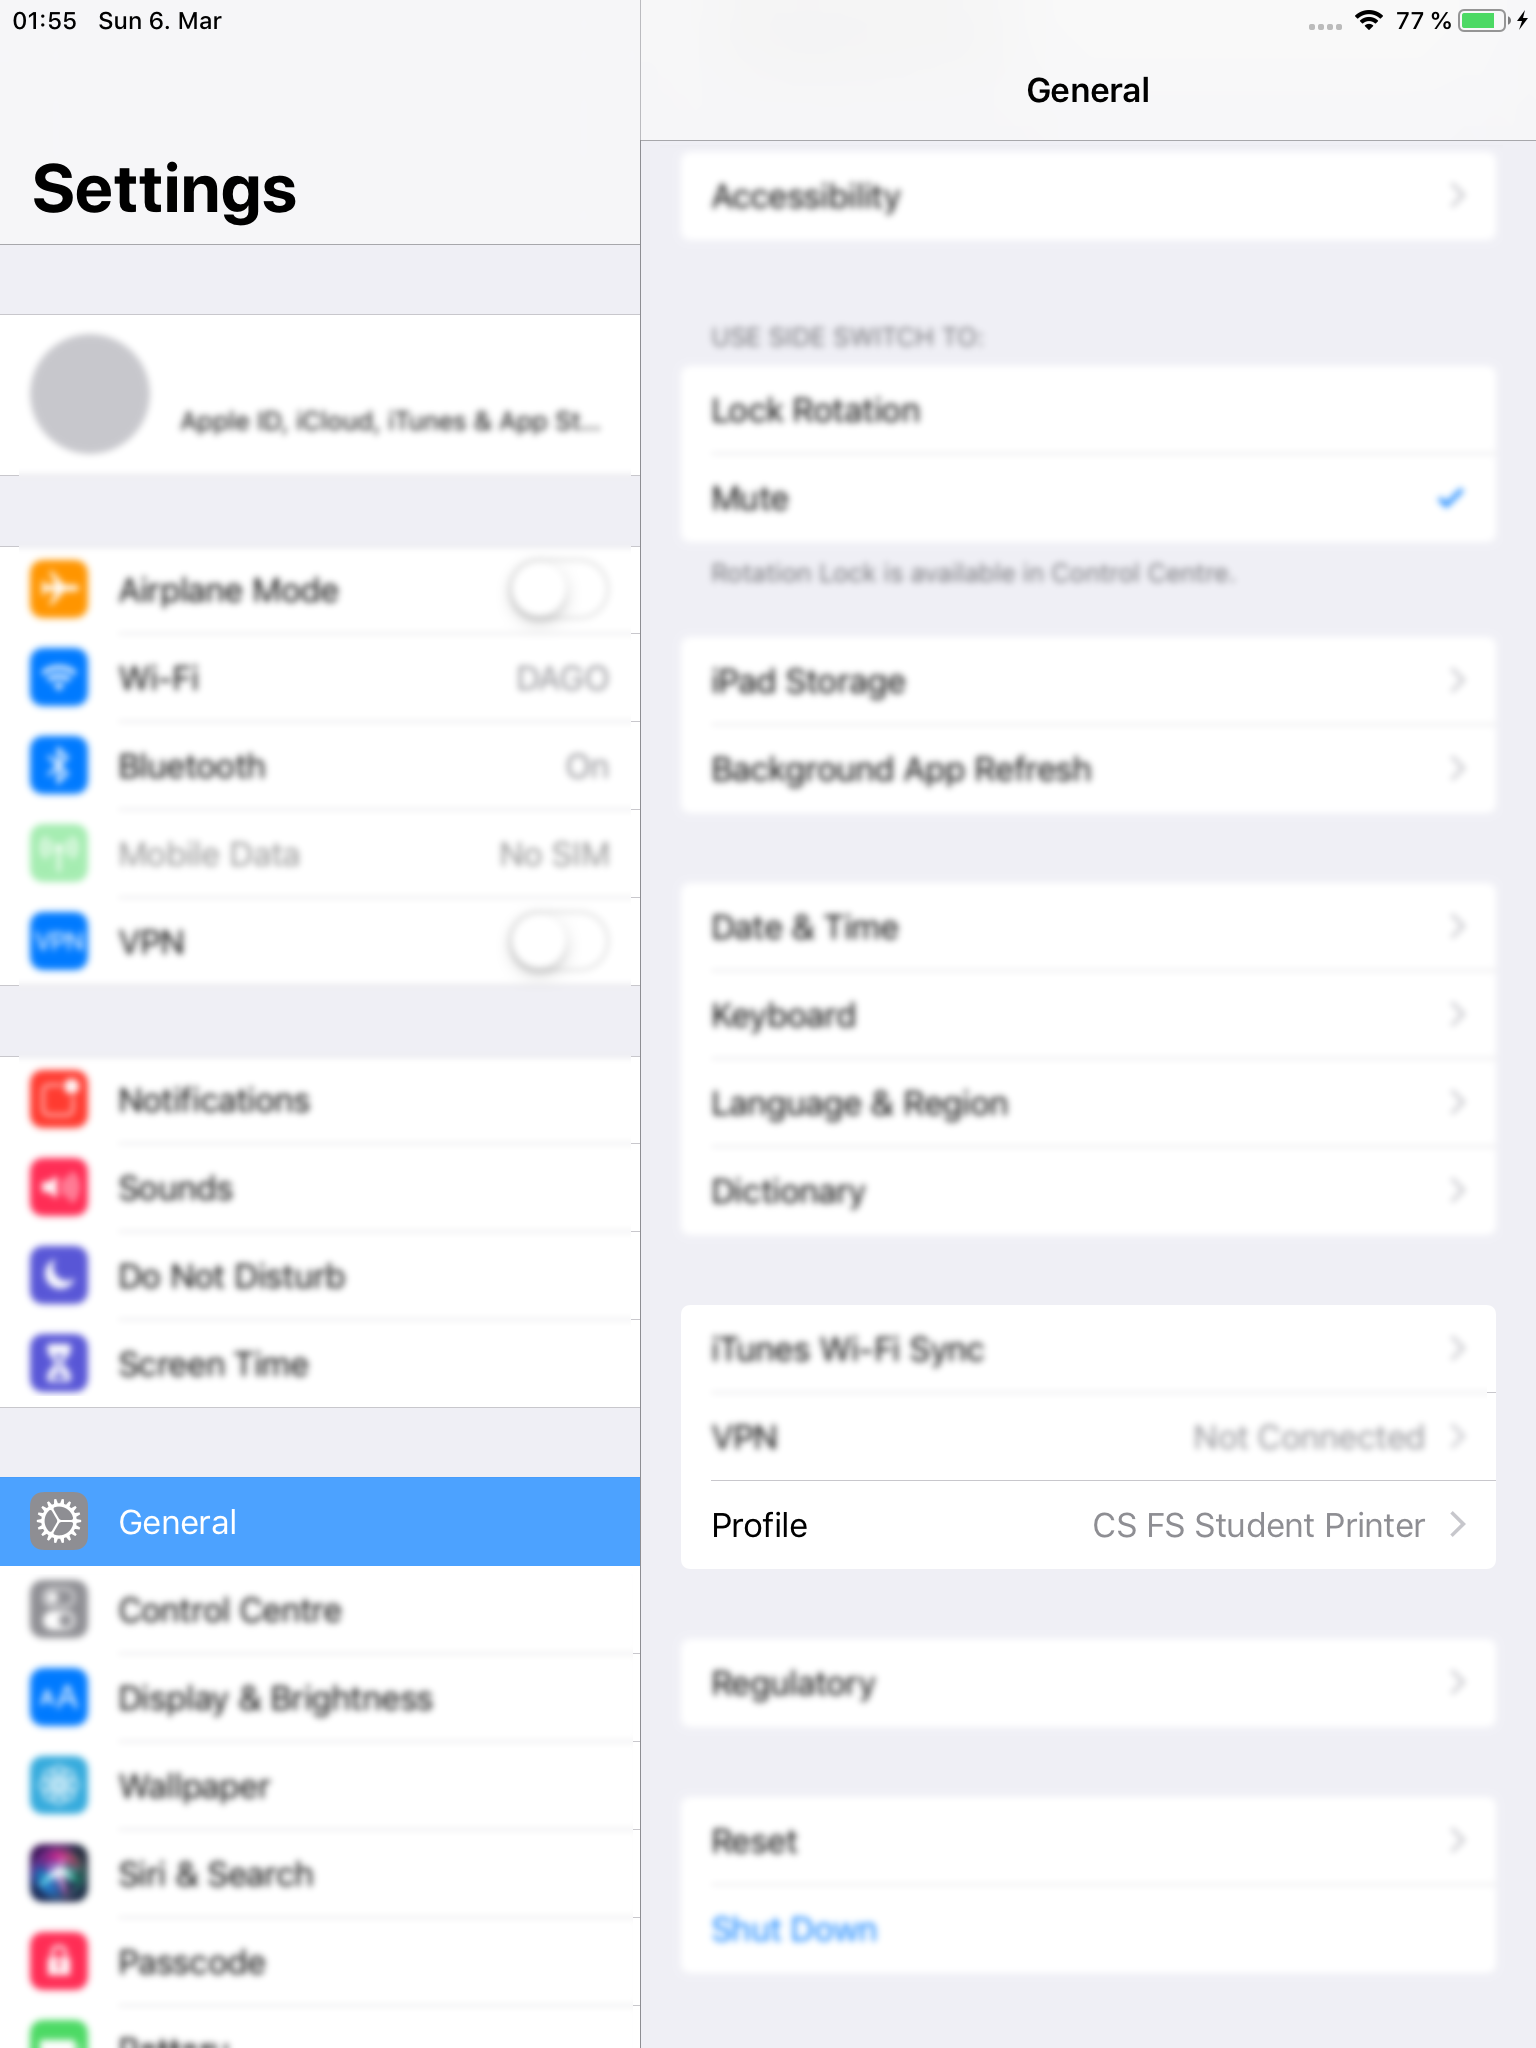
1-2 Settings > General > Profile
4 Click on Remove Profile
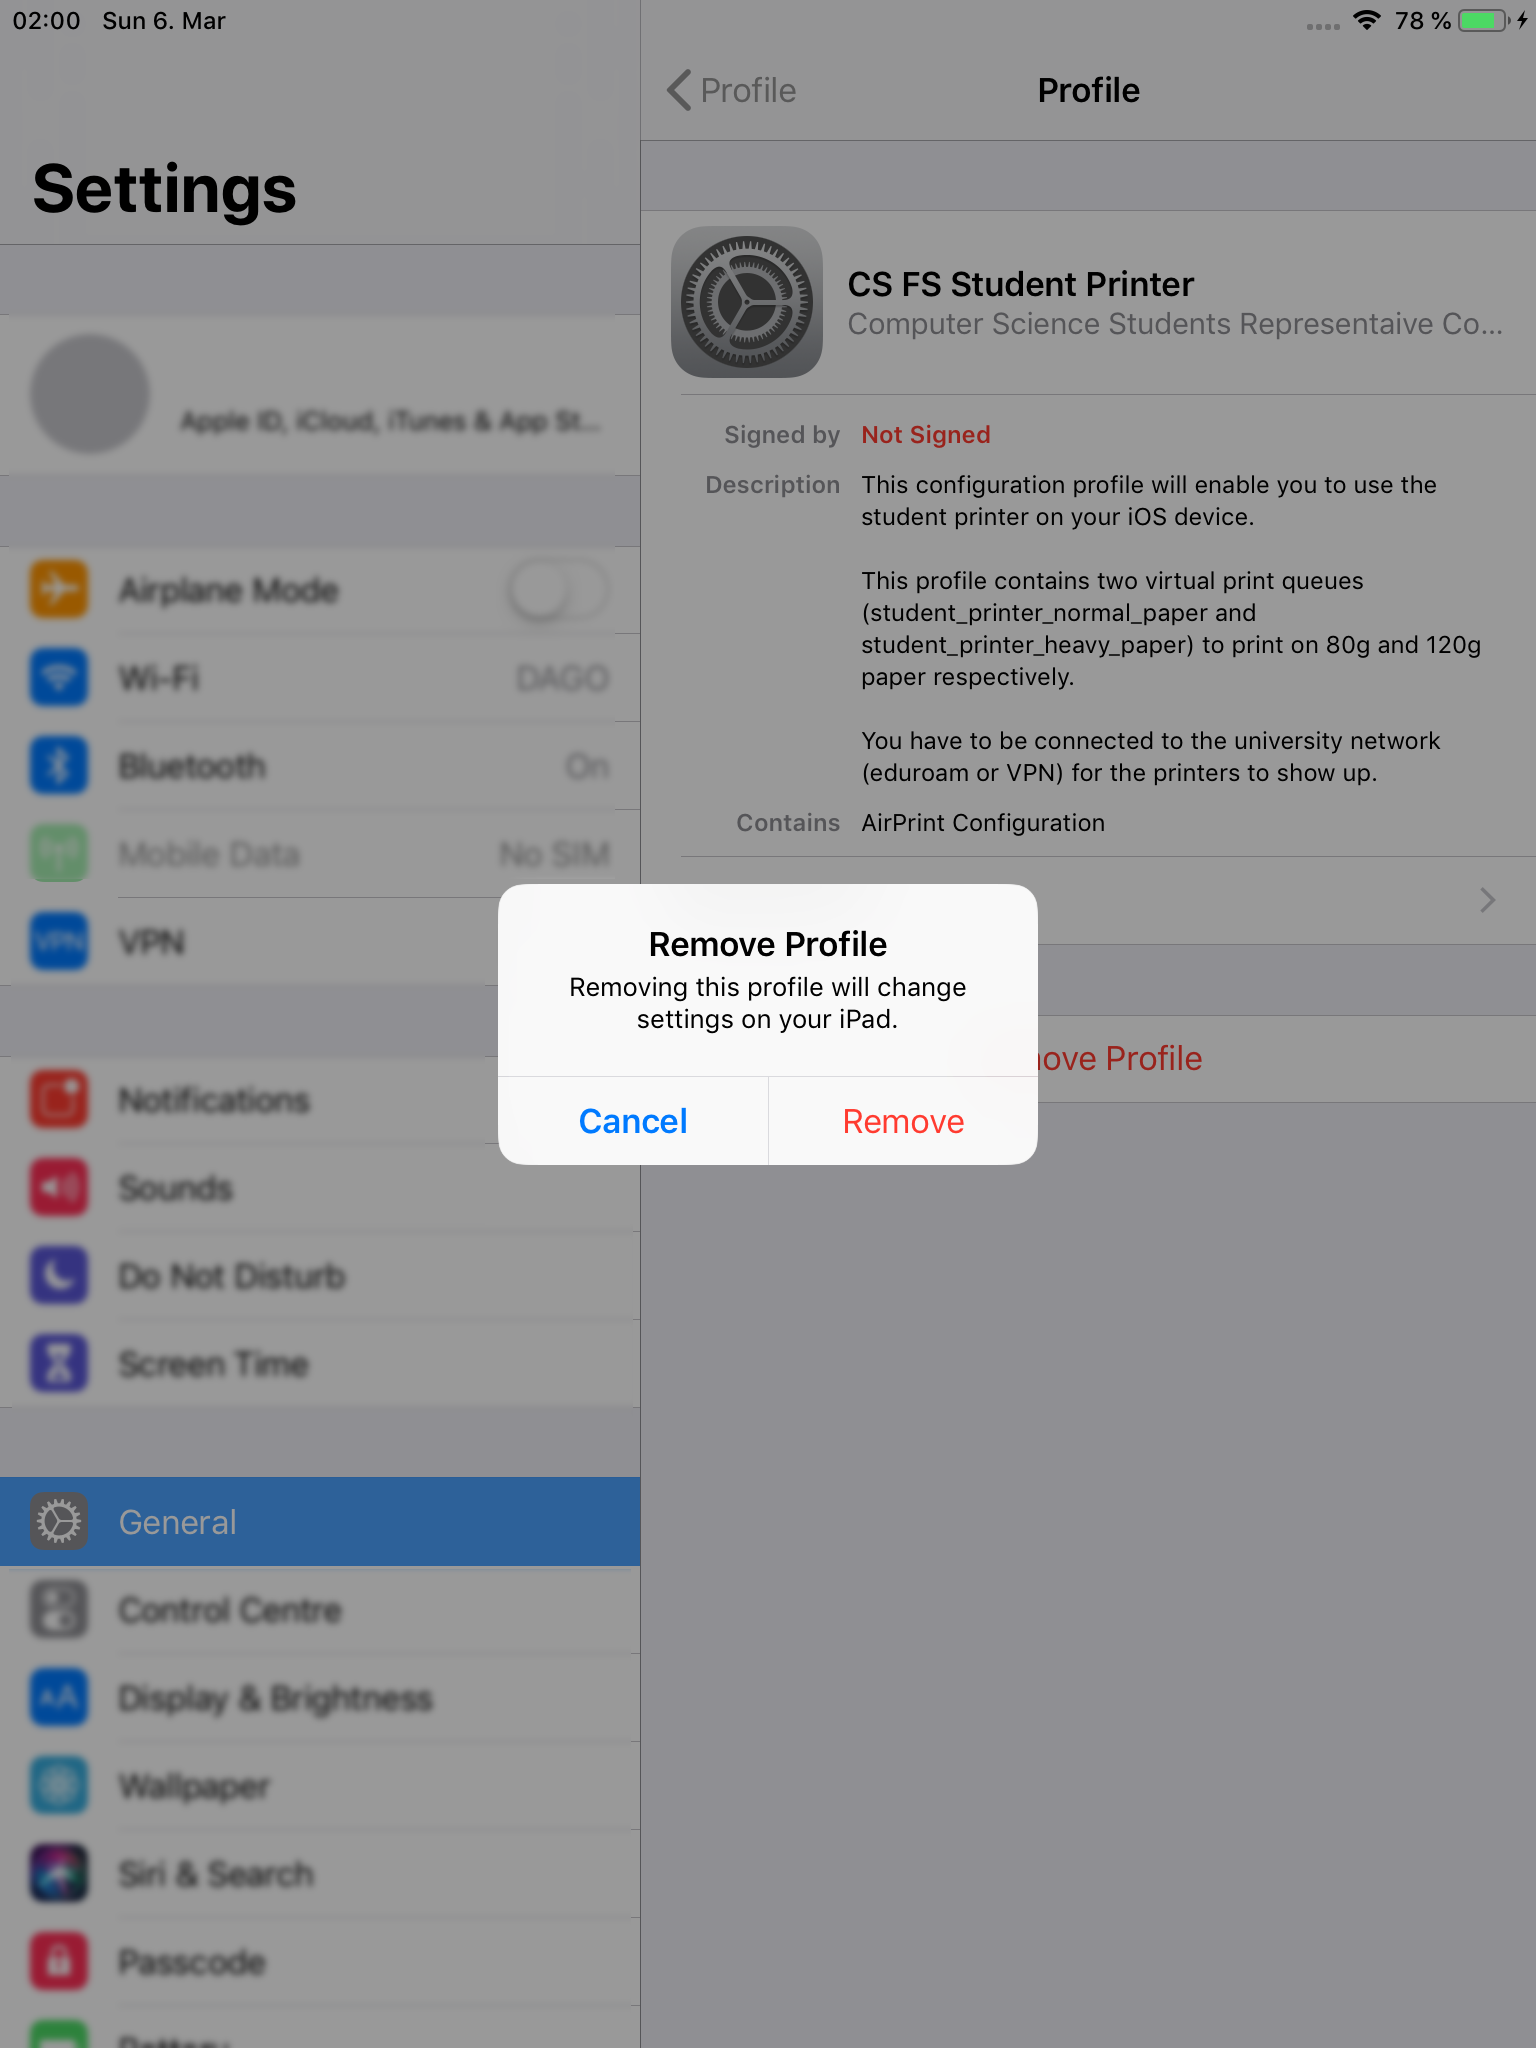
5 Click on Delete