The printer is reenabled, except for thesis printing.
If you need to print a thesis, you can make use of the „Fotostelle“ of the university’s library.
Manual Setup on Windows
Follow the steps below to setup the student printer manually. Please note that this is only for advanced use cases and/or if the automatic setup above does not work for you. In almost all cases, we recommend to use the automatic installer above. This manual setup should work on all versions and architectures of Windows from Vista and newer (and also Windows Server 2008 and newer). If you have trouble setting up the printer manually, please write to printer@cs.fs.uni-saarland.de or drop by at the students council so we can help you.
1 Click on the link above to open the SHARP website for the MX-2414N. Go to the Software & Driver section and download the appropriate Sharp Driver Package (PCL6/Postscript/PPD Printer-Driver WIN32 or WIN64) for your architecture.
2 Run the downloaded executable.
3 Select a location to extract the installation files and click on Next >.
4 The files will extract and the SHARP MX/DX Series Printer Driver Install Shield should start.
5 Select Custom installation.
6 Select IPP (Supports SSL) and click on Next >.
7 Do not select a proxy and click instead on Next >.
8 Enter https://print.cs.fs.uni-saarland.de/printers/student_printer as the URL and click on Next >.
9 Select MX-2614N as the printer model and click on Next >.
10 We recommend to use the PCL6 driver, but you may optionally select one of the other two. Click on Next > to continue.
11 Select if you want to setup the printer as default printer and click on Next >.
12 Choose a name for your new printer, e.g. CS FS Student Printer, and click on Next >.
13 Finally read the warning message about signed drivers and click on Next > to install the drivers and printer.
14 Wait for the installer to finish and click on OK to close the setup.
The printer is now installed, but we need to change some default printing settings, so that print jobs will end up at the printer in your queue:
15 Go to the Windows printer settings:
-Windows 8.1 and earlier: Start > Control Panel > Hardware and Sound > Devices and Printers
-Windows 10 and later: Start > Settings > Devices > Printers
16 Select the new printer (Windows 10 and later: Click on 'Manage') and open the 'Printing Preferences'.
17 Optionally: We recommend that on the 'Main' tab you set the Document Style to '2-Sided (Book)' and select 'Black and White Print' as default. This way you use the least amount of credits when printing. You can select different print settings each time you print.
18 Go to the tab 'Job Handling'. You can either select 'Auto Job Control': If you select this, every time you submit a print job a window will pop up and ask you for your user name. Alternatively you can select 'User Name' in the bottom right group 'Default Job ID' and provide your username in the field below. This way this user name will be used for every print job by default.
19 Click on 'OK' to save your settings and close the dialog.
You have now successfully set up the Student Printer. See on the previous site how you can send print jobs to the printer.
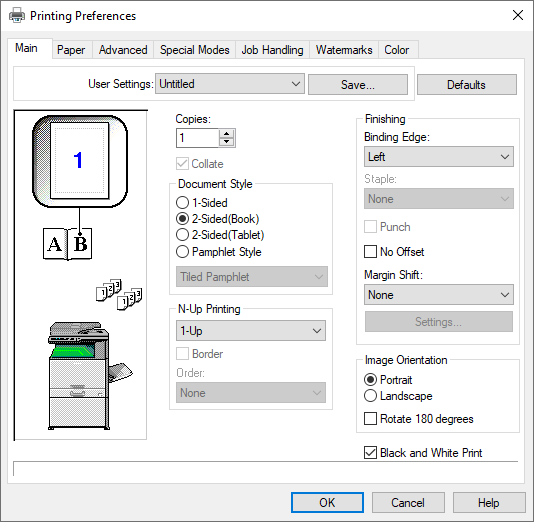
'Main' tab
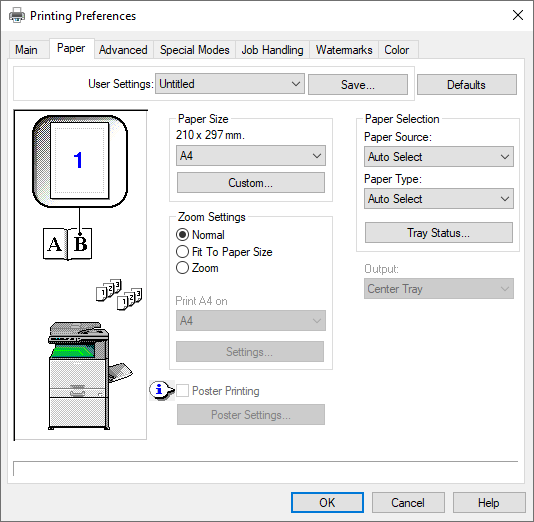
'Paper' tab
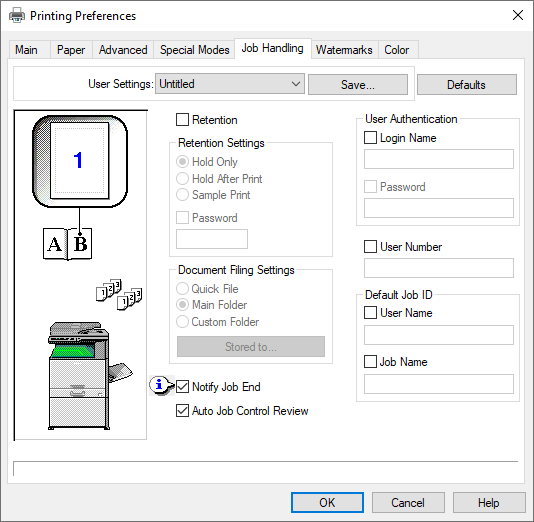
'Job Handling' tab