The printer is reenabled, except for thesis printing.
If you need to print a thesis, you can make use of the „Fotostelle“ of the university’s library.
Windows
This site describes how to set up and use the Student Printer on Microsoft Windows. You can use our automatic setup (recommended) or do the installation yourself.
Automatic Setup
This automatic setup works for 64bit versions of Windows 8.1, 10 and 11.
Automatic Student Printer Setup for Windows 8.1 / 10 / 11 Download Page
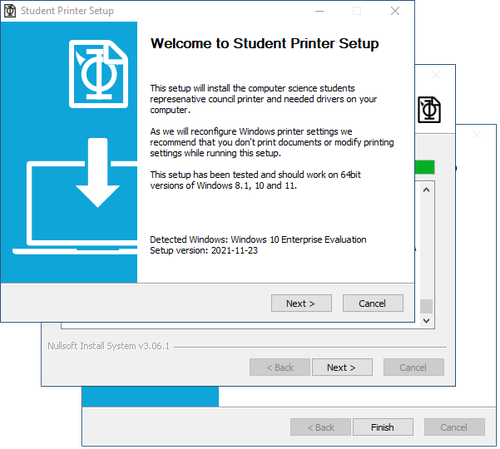
Open the link above and download the latest setup release. Run the downloaded executable. Follow the on screen instructions to setup the printer. After the setup read below how you can submit print jobs. If you want to setup multiple student printers (e.g. for setting up different print defaults), you can run the setup multiple times.
If you want to know what the setup is doing, you can inspect and compile the source code yourself here.
If the automatic setup does not work for you, please write to printer@cs.fs.uni-saarland.de or drop by at the students council so we can figure out why.
Manual Setup
In almost all cases, we recommend to use the automatic installer above. However if you want or need to to setup the printer manually, we also have a guide on how to do so. You'll find the instructions on this site.
Create Print Jobs on Windows
After you have set up the Student Printer either using the automatic setup or following the manual steps above you can use the Student Printer like any other printer on Windows. The only difference is that you need to supply your printer user name when submitting a print job. Without using a correct user name, your print job will be silently discarded by the print server! You need to be registered with the student printer to have a print queue!
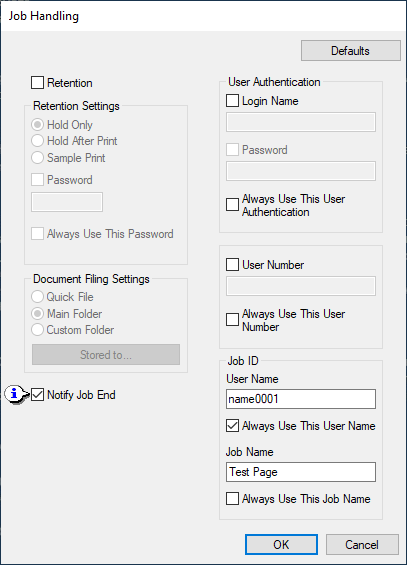
If you have used the automatic setup, a popup will automatically show up asking you to provide your user name in the group 'Job ID'. Your user name should be the same as your student id an be in the format name00001 or s8name. You can tick the checkbox below this field and your user name will be saved as default. If you click 'OK' your print job will be send to your print queue and you can release the print job at the printer.
If you want to disable the pop up and use the same user name every time you can set your default user name in the default printing settings. Follow steps 15-19 in manual setup to do this.
Delete Student Printer
If you want to remove the student printer from your system, you may do the following:
If you have used the automatic setup, you can just run the included uninstaller:
- Open the Windows Settings or Control Panel to remove an app:
- Windows 8.1 and earlier: Start > Control Panel > Programs > Uninstall a program
- Windows 10 and later: Start > Settings > Apps > Apps & features
- From the list of installed apps select the app called Student Printer and click on Uninstall.
- Follow the on screen instructions to uninstall the student printer. You will be asked if you want to remove the printer drivers as well.
If you have done the setup manually, you will need to remove the printer yourself and then uninstall the SHARP package:
- Go to the Windows printer settings:
- Windows 8.1 and earlier: Start > Control Panel > Hardware and Sound > Devices and Printers
- Windows 10 and later: Start > Settings > Devices > Printers
- Select the printer(s) that you created during setup and click on Remove Device to remove them.
- To remove the SHARP printer drivers open the Windows Settings or Control Panel to remove an app:
- Windows 8.1 and earlier: Start > Control Panel > Programs > Uninstall a program
- Windows 10 and later: Start > Settings > Apps > Apps & features
- From the list of installed apps select the app called SHARP MX/MX-M/DX Series PCL/PS Printer Driver and click on Uninstall.
- Follow the on-screen instructions to uninstall the printer driver.